As a photographer, there’s no finer feeling than the one you have when you sit back and look at the finished product. A well-lit, beautifully composed photo is enough to make any artist’s heart sing!
And when your clients see the images and are overjoyed with your efforts? That moment is pretty fantastic too.
There are many steps you need to take to get to these victorious moments, though.
First, there’s the conception. Then there’s the photoshoot itself. And finally, there’s the sometimes long and terribly tedious phase — editing.
There are lots of things you can do to speed up the photo editing process. We’ll walk you through several ways you can cut down on the time you spend in the editing chair, breaking it down by what to do before, during, and after the shoot.
Before the shoot
Think it through
Planning on the front end saves you tons of time on the back end. Thinking through everything from the big things — will you need props? If so, what type would best complement this product? — to the little things, like bringing paper towels or wipes to clean up fingerprints and dust, can save tons of time in the long run.
If you’ve ever had to clone out fingerprints all over a reflective item, you know exactly what I’m talking about!
Carla Kabbabe, CEO and founder of jewelry brand Claurete, approaches every photoshoot with a plan to make the day go smoothly. “Have a futuristic sense of how you're going to get this done,” Kabbabe told us. “Working with that mindset helps you eliminate the chances of something going wrong and makes it easier for you to get the most out of the photoshoot.”
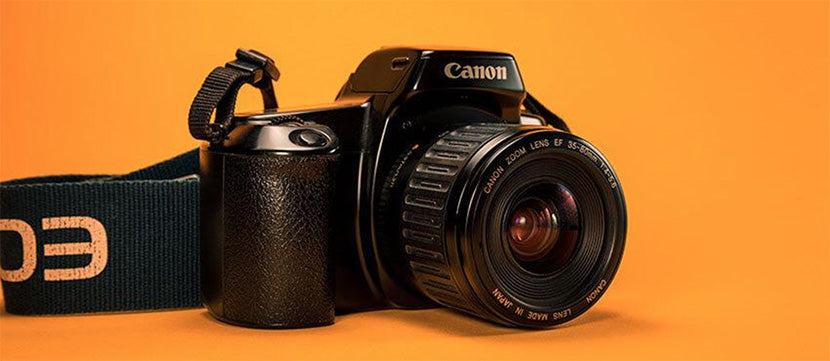
Upgrade your gear
There’s an old saying that goes, “The best camera for the job is the one you have with you.” That’s true… to an extent.
When you’re trying to capture life’s little moments going on around you, you have to use whatever camera is handy, but when you’re creating high-quality product photos, the equipment you use makes a huge difference. For example, just moving from a crop-sensor camera to a full-frame will change your photo-editing life. Not sure what cameras you should upgrade to? Here are a few of the best product photography cameras that will fit just about any budget.
Beyond the camera itself, lighting and accessories matter, too. Having a solid tripod or a decent lighting setup can shave tons of time off of your editing process — no need to straighten or fiddle around with exposure in Bridge if you get it right in camera. Here are a few quick tips you can try today to help with that.
Recruit help
When you’re ready to take your photos to the next level, consider hiring a stylist for the shoot. Not only will they give your images the attention to detail to make them spectacular, they’ll also speed up your process. No need to spend ages cloning out distracting items in the background — a stylist will know exactly how to achieve the look you’re going for without any of the time spent on guesswork.
Go pro
What if you want to get pro-worthy photos of your products, but you’re not a professional product photographer (and you don’t want to spend time and money on becoming one)? If that’s the case, then it’s time to hire a pro photog to handle it for you.
If this is the route for you, then it’s important to choose the right photographer for the job. Here are the questions you need to ask so you can get the perfect product photographer for you.
During the shoot
Shoot in RAW
Many beginners fear shooting in RAW. They’re worried that it’ll take too long to process after the fact, because RAW images can’t be used straight out of the camera like JPGs can. Here’s the thing, though: Even though you do have to process a RAW file, chances are good you’ll be editing your images anyway.
The upside to RAW files is that they contain tons more information, so the margin for error is much more forgiving. If you slipped up on your white balance or forgot to change your settings, you can usually save a RAW image in editing — no harm, no foul — and that’s a lot faster than having to reshoot.
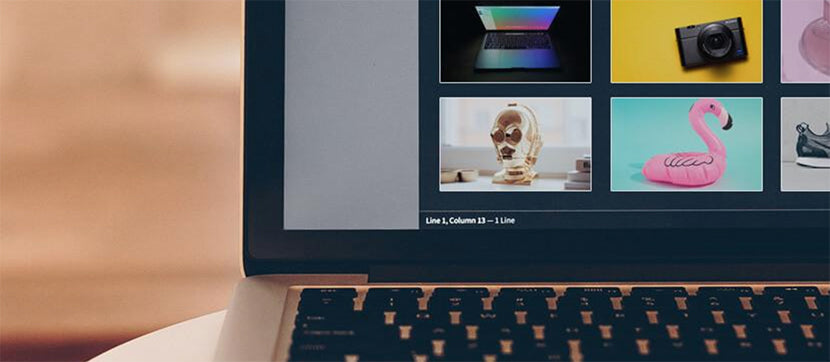
Shoot on a white background
A plain white background can hide a multitude of sins when it comes to product photography. Not to mention, Amazon and many other third-party marketplaces require a white background.
You can remove the background easily, you won’t have to worry about any confusing patterns distracting from the product, and you won’t have to edit out any color casts bouncing onto the product.
Best of all, plain white backgrounds can be as easy and cheap as setting up a roll of white wrapping paper. When you’re all done, you can cut off the piece you used and toss it in the recycling bin.
Nail your white balance
When you’re shooting in mixed light or shooting a variety of products over the course of a session, it can be difficult to get an accurate white balance. Photographer Kimberly Grace Bregger likes to use an Expodisc for consistent white balance throughout the entire session. You can quickly customize and set your white balance during your shoot instead of spending ages adjusting your WB when editing!
Keep it clean
Gonzalo Pozo, a photographer from San Antonio, TX, offers us a tried-and-true tip: “Keep your glass and sensors clean.”
This tip seems so simple it’s hard to believe that people forget this step, but I personally have cloned out a small orb-type artifact from dozens of photos because of a dirty lens. A clean camera can save you hours with the clone stamp tool.
If you’re not comfortable cleaning your gear yourself, have it serviced by a local camera shop so your camera can stay in perfect working condition.
Shoot tethered
A big chunk of editing time is devoted to photo culling. Wouldn’t it be nice to know you’d gotten the shot right without having to sort through image after image? Good news: It’s totally achievable.
Pro photographer Heather Harris recommends, “Tethered shooting for sure. I love seeing the image right away, and making changes then.” This blog post gives you an overview of available tethering tools. They range in price all the way down to free.
Pay attention to detail
When you’re shooting, look at the entire frame carefully and take the extra time to get it RIGHT. , “Getting it in camera is always better than Photoshopping,” product photographer Matt Cetta tells us. “For example, an annoying reflection can be fixed with a polarizer or a black card in seconds vs. the hours it would take to clone it out.”
Play it by ear
Be prepared to improvise! If your shot doesn’t look quite as cool as you imagined it would, change it up until you’re happy with it. Sometimes, we’re so consumed with the idea we had in our minds that we get locked into the concept and wind up with a card full of ho-hum images. It’s better to improvise until you get something you love. After all, editing a good photo is lightyears faster than trying to save a crummy one.
After the shoot
Keep ‘em safe
When you get home from the shoot, go straight to your editing computer and upload, then backup. (Bonus points if you’re set up to auto-backup!) When you have a complete backup of your images, you can edit more confidently because you know that if the worst case scenario occurs, you can always start from scratch again.
Cull with extreme prejudice
When you’re going through your files, it’s tempting to keep all of the images you think are even okay. This is understandable, you’ve worked hard to create these images, and you want to make sure you’ve got plenty of them, right?
Unfortunately, this costs you hours in the long run — you’ll either have to cull a second time or you’ll end up processing way too many images, most of which won’t ever be seen. Go through your images with a critical eye the first time. If it’s not something you totally love, cut it on the first go round.
Get (and stay) organized
I laughed a little writing this tip, because good file management is a weak area for me personally. I can tell you right now, I’ve wasted hours of my life trying to remember if I named a certain file “2016 December XYZ Brand 0425” or “Jewelry Photo Necklaces 0425” and then searching around trying to remember.
Lately, I’ve gotten my name format down, so it’s not quite as bad as it used to be, but I could still stand to segment my folders better. So do as I say, not as I do, and follow the digital asset management tips in this article. (I’ll read up and implement them, too.)
Know your goals
Before you edit, make sure you know how you want the end result to look. Rather than spending time getting artistic, trying a light and airy look, playing with saturation, and then making decisions, know what you want your photos to look like going in. Then stick to that decision.
You can always play around for fun and practice later. For now, let’s just get it done so you can get out of the editing chair!
Make big changes, then fine tune
Always make your global edits first, things like color and exposure. Then go in and make small changes. By stacking the big edits on the front end, you’ll know right away if a photo is salvageable or not. Better to find out right away then to spend 15 minutes on tiny edits, right?
Use Layers
Sometimes, when you haven’t edited for awhile, you might lose your groove and forget your keyboard shortcuts and tried-and-true patterns. When this happens, you might forget to add a Layer before making changes.
This isn’t always a bad thing, but there will be cases where you’re just not happy with an edit you made, and you’re so deep into the process that you have to revert the file and start over. This turns your small forgotten step of adding a layer into a big ordeal — you then have to start from scratch. Remember to use your Layers and save time and frustration.
Calibrate your monitor
Have you ever ordered something only to have it arrive and look completely different? Let’s say you purchased a blue shirt, but when you got it, it was actually teal, for example. When that happens, usually it means that somewhere along the line, someone’s monitor is not calibrated properly.
It could have been your monitor at home that caused the mistake, but it could also have been the photographer’s monitor. Avoid this problem by calibrating your monitor. You can get calibration tools to handle this quickly and easily. You’ll look like a pro, keep a good reputation, AND save time on tinkering with color.
Build and use processes
This saves time because you’re less likely to spend precious minutes trying one thing, then abandoning that idea and experimenting from scratch the next time. Once you find a process that works for you — anything from the way you pack your bag the night before a shoot to the way you invoice your clients to the way you upload and rename your files — document that process and use it again and again.
Use automations
Automation is the wave of the future. There are so many ways you can save time in your photographer life — here are a few of my favorite automations for photographers. Cetta is in the same boat. “Lightroom's abilities to bulk edit are also SUPER helpful to anyone's workflow,” he says. “But one of the biggest tips is to automate, automate, automate!”

One important tip to note: Automated image-editing software may have mistakes since it’s not done by hand. If you outsource your editing to Path, we edit everything by hand — no computer-generated mistakes allowed.
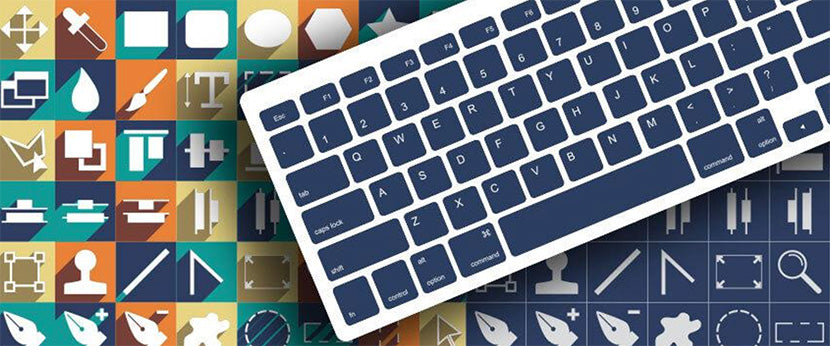
Work some keyboard magic
If you’ve got a lot of photos to edit, you need to know about shortcuts. In just a few keystrokes, you can tell Photoshop exactly what you want it to do, shaving minutes off of editing each and every image. Here are some of our favorite shortcuts for editing product photos.
Want to speed up your time spent in Photoshop even more? Then you’re ready for plug-ins. If you want to reduce noise, change exposure, add a vignette, or even recreate an entire look again and again with the click of a button, these plugins are for you.
When in doubt, send it out
Product photographer Louie Preciado tells us, “If they're bulk product photos, I outsource the clipping if I have a quick deadline. You can't beat a 24-hour turnaround when you could be doing more important things like sleeping or watching Netflix.”
You, too, can catch up on your Netflix queue when you outsource to a high-quality photo editor. Not sure how to find the right editor for the job? This blog post tells you everything you need to know about outsourcing your photo editing needs.