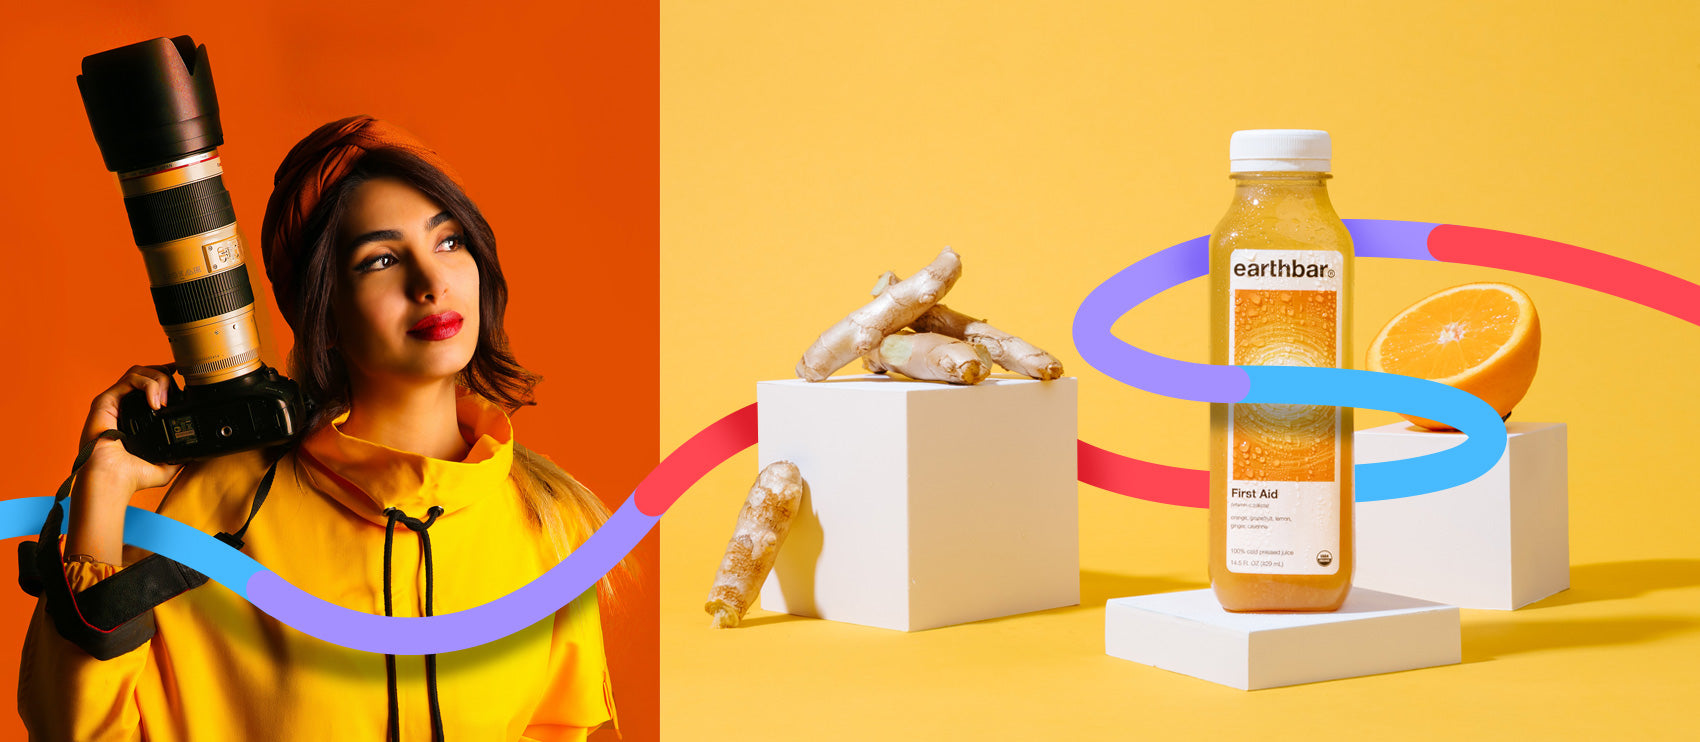
A customer walks into a brick-and-mortar store because they like what they see in the window or on the rack closest to the door. Likewise, when users come to your website, you capture their attention with images first.
If they see something they like, there's a higher chance they'll continue browsing, increasing your chances of getting an order. This is why high-quality product photography is crucial to the success of your ecommerce business.
If you don't have a professional DSLR camera, don't fret. Your smartphone camera may be all you need. Investing in a professional photographer isn’t necessary to get your product off the ground and to start making sales.
Using your smartphone to capture beautiful photos of your product is both affordable and efficient. That's why we're sharing product photography tips for your smartphone.
Receive free ecommerce & product photography tips
Get the right device
With the right tech, you can capture near-pro-looking product photography with your smartphone. Below are a few devices with great features for product photography, and here are additional options to choose from.
Google Pixel 3 / 3 XL
- Main camera: 12.2MP, f/1.8 rear camera
- Optical and electronic image stabilization
- Front/selfie camera(s): Dual 8MP, f/2.2, ultra-wide-angle, fixed focus and f/1.8 wide-angle front facing camera
- Optical and digital zoom
- Video: 4K, 1080p, 720p, (rear camera), 1080p, 720p, 480p (front camera)
- 2,915mAh battery
- 64/126GB capacity
- Snapdragon 845 & 4GB RAM
- Splash-, water-, and dust-resistant
- Digital bokeh and post-capture ability
- Night Sight mode
Apple iPhone X
- 12MP rear camera sensors
- Wide-angle f/1.8 lens, with OIS
- Telephoto f/2.4 lens, with OIS
- 7MP selfie camera with f/2.2 aperture
- Quad LED True Tone Flash with slow-sync
- Portrait lighting effects
- 4K video at 60fps
- FullHD slow motion at 240fps
- 5.8inch, 2436x1125 pixel screen, wide color / HDR
- A11 processor, iOS 11
- Wireless charging
- Water- and dust-resistant
Samsung Galaxy S9 Plus
- 12MP Dual Pixel rear camera, 1.4micron pixels
- f/1.5-2.4 aperture, 26mm equivalent lens with OIS
- S9 Plus: f/2.4 telephoto lens, 52mm equivalent, with OIS
- 8-megapixel front camera with f/1.7, and AF, 25mm equivalent.
- Auto HDR (front and rear cameras), Raw shooting possible in Pro mode
- 4K 60fps UHD video capability while capturing 9-megapixel stills
- Dustproof and waterproof to 1.5m for up to 30 mins
- 6.2inch Quad HD+ Super AMOLED (2960x1440) with Corning Gorilla Glass 5 (S9: 5.8inch)
- 3500mAh battery, S9: 3000mAh battery
- Wireless charging
- MicroSD slot
Additional equipment and setting up the shoot
Once you've decided on the right smartphone for your product photography, you'll want to consider the other apparatuses that you can use during your next photoshoot.
Backdrop
Depending on what you’ll use the photos for, you can choose from various options for the backdrop behind your products. If you're shooting products for your ecommerce site, a clean, solid backdrop is the best option. You want your products to be the highlight of the photo without any distractions. You can use a white, light gray, or bright colored foam core backdrop — choose whatever solid color will make your products pop. You can also use a roll of paper or a wall as your backdrop.
Marketplaces like Amazon have specific product photography image requirements that sellers must adhere to when they list products on its website.
Amazon's image requirements are particular when it comes to image size, image frame, background color, file format, image type, and image color mode. You're not permitted to have any color in the background. It’s gotta be pure white.

If you need flat lay product photography for social media, you may want to consider styling your photos with a more creative backdrop and include props, decorative items, or complementary products in the shoot. You can tag those products on social media, and if you're lucky, those companies will repost your content. Shared content can help you build brand awareness.
Table
You can place your backdrop and products on the floor when you shoot product photography with your smartphone.But using a table might be more comfortable — especially while you're styling the shots. You may also want to have a chair or step stool nearby in case you'd like to get a shot from above.
Lighting
The simplest and most cost-effective lighting option for product photography is natural light. You don't need direct sunlight; too much sun could make it harder to capture great photos.
Find a window with indirect light and set up a table a foot or two away from it. You can use a white foam core board opposite the window to deflect light back onto your products. If natural light is impossible to find, you can use LED lights to do the trick.
Image stabilization
While natural light will give you great product photos, you may still need image stabilization equipment like a stand or tripod. Investing in a small tripod can make a big difference, helping you eliminate camera shake and allowing you to keep your camera setup between shots.
A few tripods I recommend:
- Joby GripTight ONE GorillaPod Stand, $27.09
- Sunpak 5400DLX Tripod, $14.99
- Magnus MaxiGrip Flexible Tripod, $19.94
Positioning the product
Once you've decided on the backdrop, create a checklist of the shots you'd like to capture for each product. Keep in mind, your online customers won't be able to touch your products so showing as much detail, and as many angles possible on your product pages is vital.
We recommend that you get at least three shots: front, side, and back of your product. If your products have specific design details that add value to the customer, you can photograph those details and include images on your product page.
For example, if you have leather tote bags with an inner zip compartment for a laptop, you can show those details by taking various photos and selecting one to two that best highlight this feature.
You'll also want to consider how to position your products and what backdrop to use. Base these decisions on whether you're only selling the products on your ecommerce site or if you're also selling on other marketplaces like Amazon which require a pure white background. This will determine whether you use a plain backdrop versus a more creative or colorful one you can experiment with for your ecommerce site and product pages.

Smartphone camera settings to use
Getting a more in-depth understanding of your smartphone camera settings can help you capture better photos on the day of your shoot. It can also minimize your editing efforts post-shoot. Here we're sharing more information about a few camera settings to help you navigate your way around.
File formats
When you're shooting product photography with your smartphone, it's best to choose the highest quality or resolution setting you can.
Typical file format options are JPEG, TIFF, and RAW.
- JPEG is the standard compressed file format that you probably shoot with regularly.
- TIFF is a lossless file format that retains all the image details in various layers.
- RAW is a lossless, high-quality file format that gives you the most flexibility to edit your photos.
At Path, we’ll edit all three file types, as well as others.
JPEG files are much smaller than RAW images. When you convert RAW to JPEG, some of the image data is “thrown out” — producing a substantially smaller file. When you shoot in a format like JPEG, the image information is compressed and lost, resulting in lower quality images.
No information is compressed when you shoot in RAW, making this option "lossless" — and a better option to capture high-quality product photographs.
RAW images keep all the light data the camera’s sensor received. The image is sometimes as large as 25 MB making it easier to correct and edit areas of the photo that could be unrecoverable if shot in JPEG.
Shoot your photos in RAW for the most significant detail and to have a better base image to edit.
ISO
ISO is how you can adjust your camera’s sensitivity to available light during the shoot. The higher the ISO number, the more sensitive your camera will be to light, while a lower ISO is less sensitive to light. You can adjust your ISO depending on how much light is present and where you are taking your photos.
Use a lower ISO if you're shooting outdoors during the day. For a darker photoshoot environment, you can increase your ISO, but be careful not to go too high as it can increase sensitivity resulting in an image with more grain or "noise."
Shutter speed
Shutter speed refers to the amount of time the camera's shutter is open when you’re taking a photo. You can also think of it as the time that your image sensor "sees" the subject or product you're photographing.
Shutter speed is measured in fractions of seconds and seconds. For example, 1/2000 of a second is extremely fast and not a shutter speed you'd typically use. More common shutter speeds range from 1/500 to 1/60, which is what you should use for your product shots.
Shutter speeds much slower than 1/60 may result in blurry photos because it's hard to keep the camera steady long enough while the shutter is open.
White balance
The lighting conditions under which an object is viewed can affect the color. Our eyes and our brain can process different types of light, making white objects appear white to us under any light setting — sunlight, overcast, indoors, or under fluorescent light. However, a digital camera can't emulate this process on its own. It can't compensate for different types of lighting and render a white object white.
White balance plays an essential role in your product photography. You can adjust your white balance setting to help you get closer to the true colors in your image.
Depending on your lighting, your images may be overly warm (this typically happens with artificial light sources), or your pictures might be too "cool" (or blue looking), so you can use the white balance to warm them back up.
You can try to set auto white balance on your smartphone camera which will help the camera read the scene's color temperature. It can then choose a setting from a series of pre-settings to automatically adjust white balance for you. Choosing settings in advance is a good solution when you're shooting all of your images under the same lighting conditions.
Focus
Smartphone cameras focus similarly to most DSLR shooters. Images can be captured with autofocus which is a practical, simple, and reliable setting. You can also use different settings such as portrait mode on the iPhone to emphasize the focus on the subject and blur the background of the image.
Autofocus is not the only option. You may also choose to focus on your subject, or part of it manually. Manual focus can be useful when the camera can't quite hone in on the part of the frame that you'd like to shoot. Just make sure you're not zooming in as that can result in a pixelated photo.
HDR
High Dynamic Range or HDR captures more detail in high-contrast scenes. It can help balance exposure when your camera struggles to catch detail in both bright and dark areas at the same time.
If you use the HDR setting in the iPhone Camera app, it takes a bunch of photos when you press the shutter, catching each image at a slightly different exposure. Some are darker and some brighter. Then the camera combines the images to create a single photo that is well-exposed, resulting in a photograph that has details in both the highlights and the shadows.
Not happy with the shadows in your shot? You can learn how to add a natural shadow in Photoshop to fix them in post-processing.
Keep your flash off
Avoid glares and discoloration by turning your camera flash off. Natural light or LED lights are enough to capture beautiful product photography. If you're worried about the brightness of your photos, you can fix that to your liking during the editing process.
Avoid zooming in
Most smartphones only have digital zoom which is not a good option for high-quality photography. Optical zoom is a better option if you're taking photos from far away.
If you need a close-up shot, move physically closer to the product when you shoot. Getting nearer to your subject can prevent the image from becoming pixelated and fuzzy, and you'll get better product photos.
Clean your lens
Dust, dirt, and fingerprints will be noticeable when you take product shots. You can use a cloth, your shirt, or a sunglass cleaning cloth to wipe your lens before you begin shooting.
Editing photos on your smartphone with apps
Not only can you use your smartphone to take great product photography, but you can also download endless photo-editing apps to enhance your images. Common edits that you may have to make include increasing or decreasing exposure, correcting white balance, or background removal if you're selling on a marketplace like Amazon.
Let’s check out a few smartphone photo editing apps to get you started:
Adobe Lightroom CC - Photo Editor
FREE

Adobe Lightroom CC is one of my favorite mobile apps for editing. It's free and syncs up to Lightroom on your desktop computer, too.
While the desktop version is more robust, you can do almost as much when editing photos on your smartphone. Adjust exposure and white balance, and create one-tap presets for quick edits.
On your desktop, you can blend and blur specific areas of your photos and also remove the background of your photos entirely, which makes this an excellent option for Amazon product photography.
Carbon
FREE

If you'd like to create black and white content, Carbon is a useful tool for you to have. Its filters get developed in partnership with photographers so that you can publish striking monochrome images in a few taps.
TouchRetouch
$1.99

If you want to remove unwanted elements from your images, TouchRetouch is the way to go. It only takes a few moments, and its one-touch solution makes this photo editing app a user-friendly option.
Mextures
$2.99

Mextures is a smartphone photo-editing app that's best for applying textures, grains, and light leaks which can increase exposure on some regions of the photo. You can also save, share, and import formulas to make editing faster each time you use the app.
Moving forward with smartphone product photography
Now that you have a better understanding of which smartphones, apps, and photo-shoot set-up can help you execute high-quality product photography, you can get your products listed on your ecommerce site in no time.


