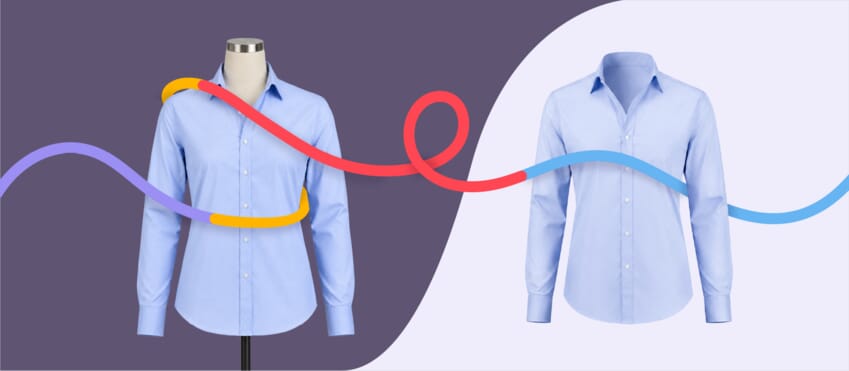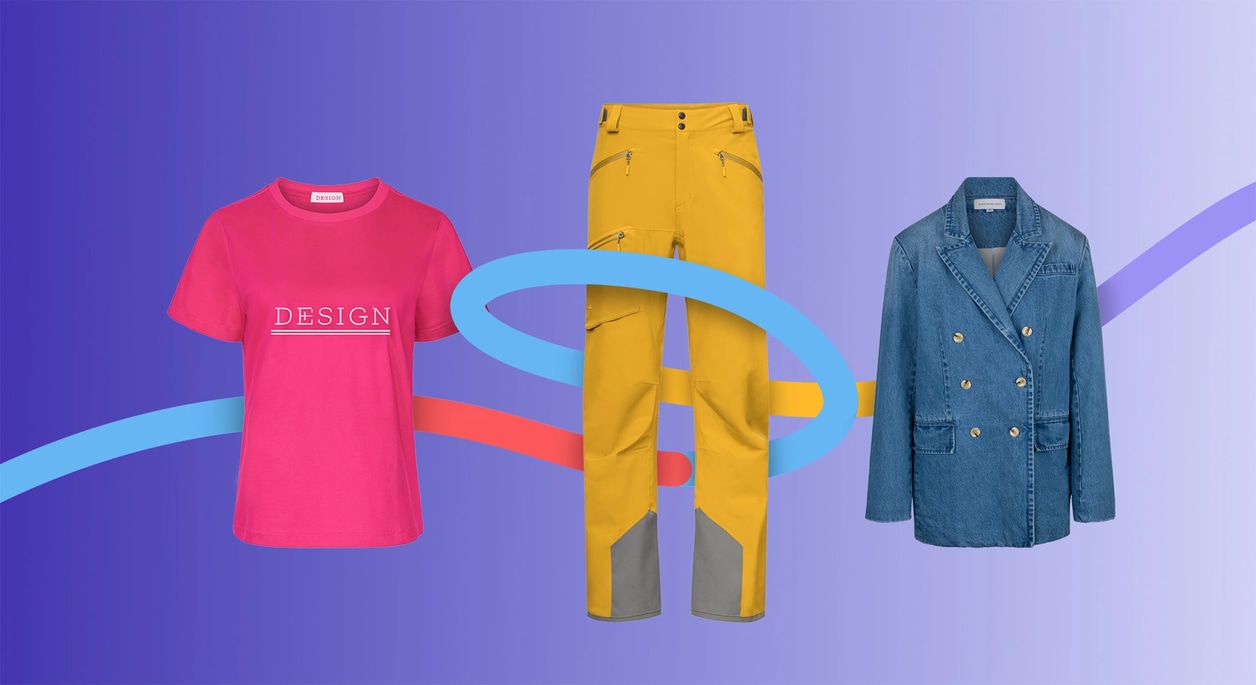
Photoshop has made creating ghost mannequin images more accessible than ever. With the right tools and techniques, it’s possible to produce clean, professional apparel images that showcase garments naturally and are ready for ecommerce.
However, creating an invisible mannequin effect in Photoshop involves much more than simply cutting out the mannequin. Poor reconstruction, inconsistent edges and missing garment details can quickly make an image look artificial.
In this guide, we’ll explain the techniques that make the biggest difference and show you how professional editors create ghost mannequin images that look natural rather than obviously edited. If you’re new to the technique, our beginner’s guide to the ghost mannequin effect covers the basics first.
Start with the Right Photographs
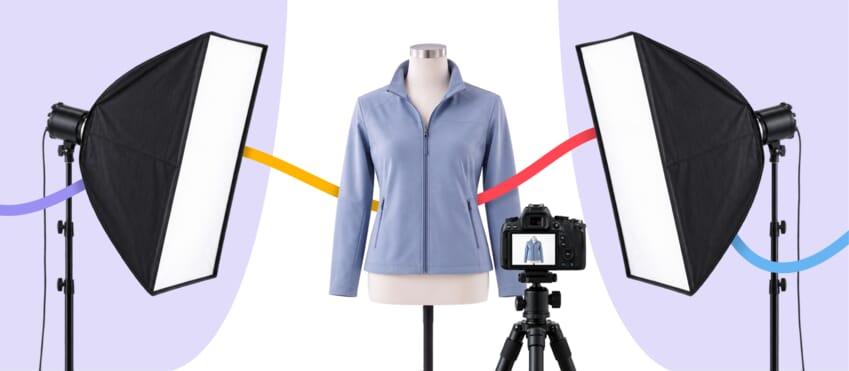
The quality of your Photoshop edit depends entirely on the quality of the photographs you begin with.
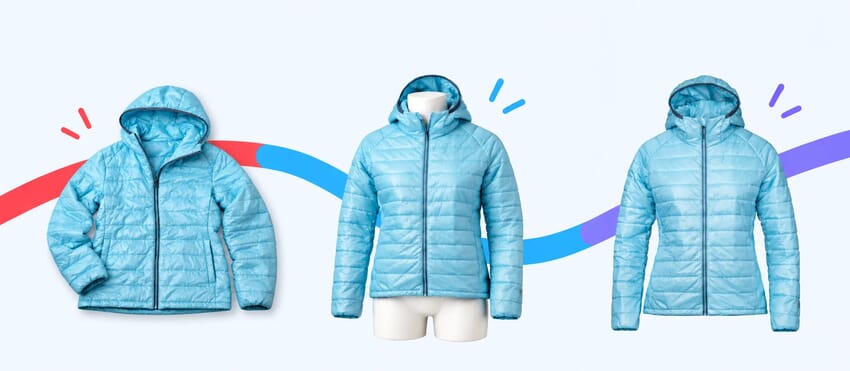
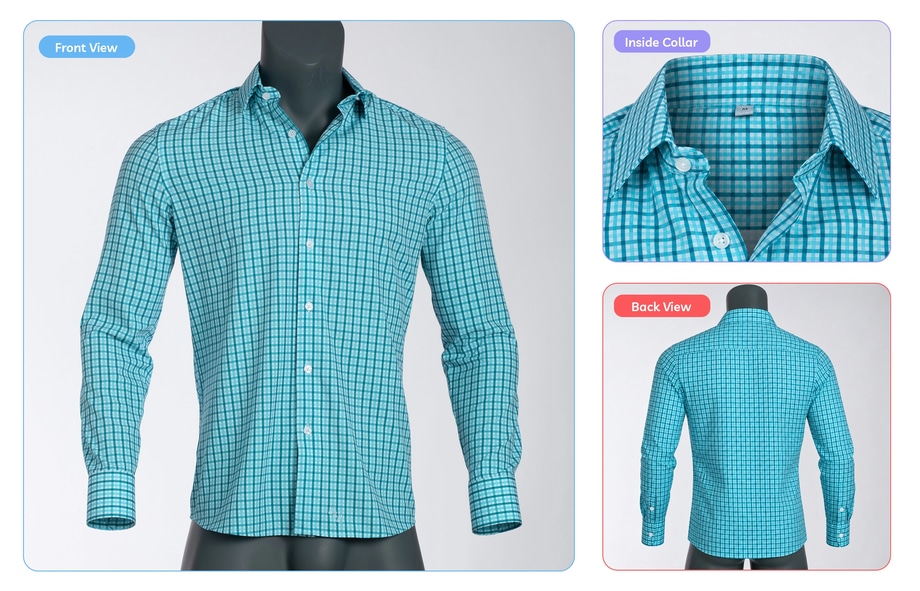
Before opening Photoshop, make sure you’ve captured:
- Front view
- Back view
- Inside collar or neckline
- Hood interior (where applicable)
The more complete your original photographs, the easier it becomes to reconstruct the garment naturally during editing. Not sure how many shots you need? See how many photos a ghost mannequin edit requires and run through our ghost mannequin photography checklist before you start.
Remove the Mannequin Carefully
One of the biggest mistakes beginners make is relying entirely on quick selection tools.
While Photoshop’s AI selection tools can speed up the process, they often struggle around collars, seams, textured fabrics and fine garment edges.
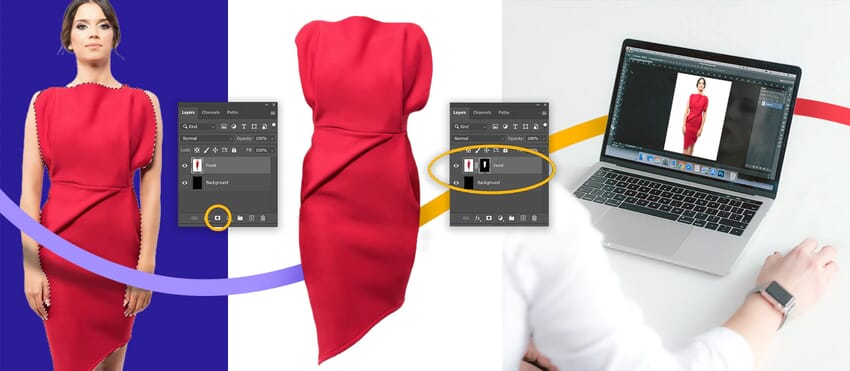
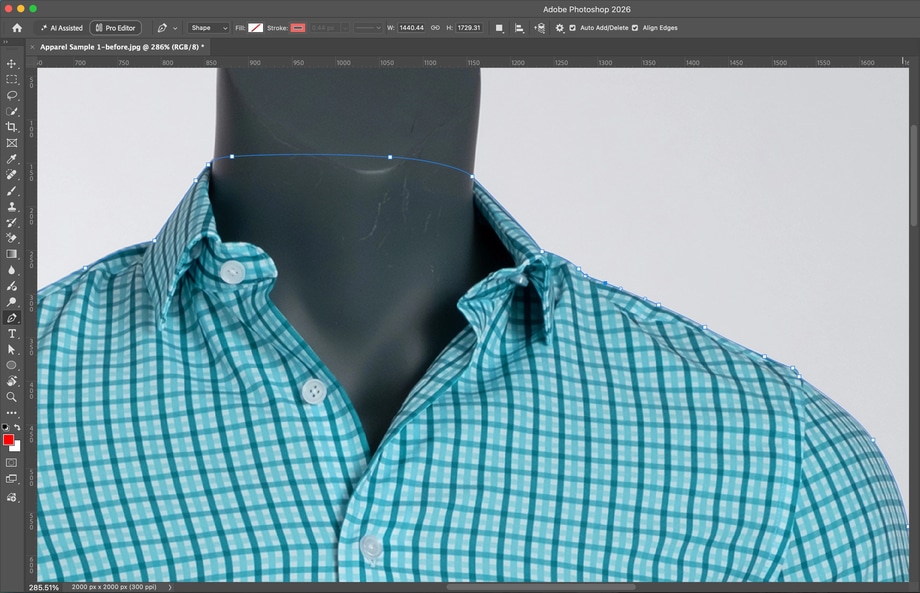
To create a realistic ghost mannequin effect in Photoshop, professional editors typically combine:
- Clipping paths
- Layer masks
- Pen Tool selections
- Manual edge refinement
This creates much cleaner cut-outs and prevents rough edges that immediately reveal the image has been edited.
Rebuild Hidden Areas Naturally
This is the step that separates professional ghost mannequin editing from basic mannequin removal.
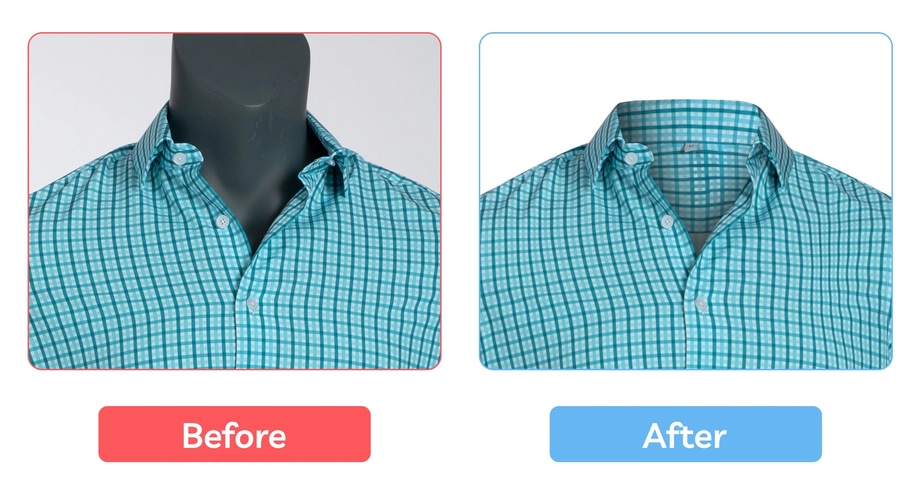
Rather than inventing missing details, editors use the additional photographs taken during the shoot to reconstruct:
- Inside collars
- Back necklines
- Hood interiors
- Hidden fabric sections
The goal is to make the garment appear complete, not digitally manipulated.
Match Fabric Texture and Lighting
Even perfectly reconstructed garments can look fake if the lighting doesn’t match.
Pay particular attention to:
- Shadow direction
- Fabric highlights
- Colour consistency
- Texture alignment
- Seam positioning
Small inconsistencies may not seem obvious individually, but together they reduce realism.
Professional editors continually compare every reconstructed section with the surrounding fabric to ensure the finished garment looks completely natural and the edit is virtually impossible to detect.
Finish with Professional Retouching
Once the ghost mannequin effect has been created, the final image still needs refining.
Typical finishing adjustments include:
- Removing dust and lint
- Colour correction
- Contrast adjustments
- Wrinkle reduction
- Symmetrical edits
- Edge clean-up
- Final quality checks
These finishing touches help every garment look consistent across the catalogue.
Learn the Technique or Leave It to the Experts
Creating a realistic ghost mannequin effect in Photoshop takes practice. While the software provides powerful tools for removing mannequins and combining multiple photographs, producing natural-looking results requires careful attention to garment reconstruction, lighting and consistency.
Want to see the complete process in action? The tutorial below walks through the Photoshop workflow for creating a realistic ghost mannequin effect, from removing the mannequin to reconstructing hidden garment details. Prefer to read along? Our Ghost Mannequin Photoshop tutorial walks through the same workflow step by step.

For businesses editing hundreds of clothing images, professional ghost mannequin editing often provides a faster and more consistent workflow. Whether you choose to edit in Photoshop yourself or outsource the work, the goal is the same: creating clean, realistic product images that help customers buy with confidence. Wondering whether apps or AI tools can do the job instead? We compared them with professional editing.