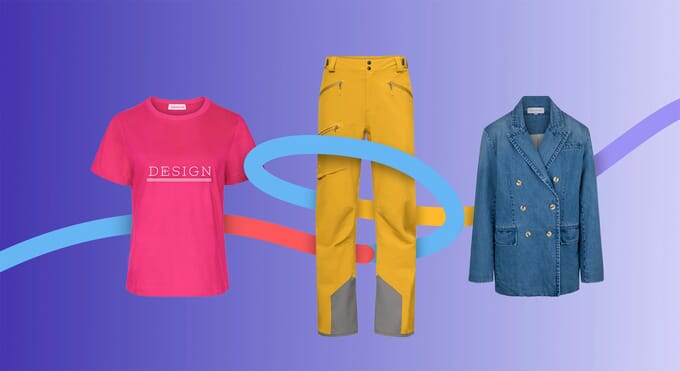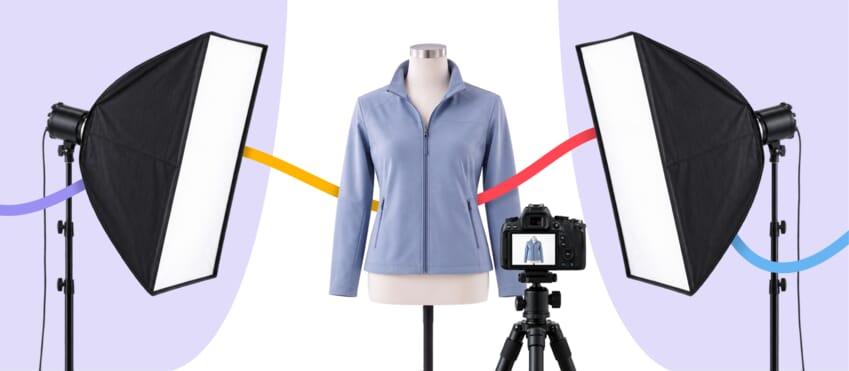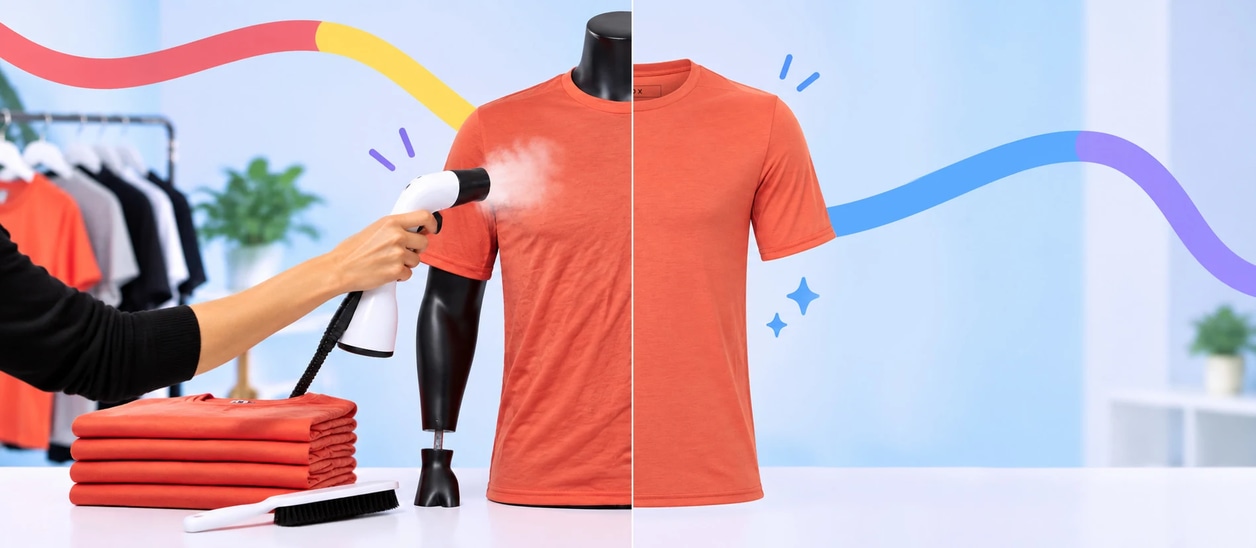
Creating a professional ghost mannequin image is much more than simply removing a mannequin in Photoshop.
Every finished product image is the result of a structured workflow that begins long before editing starts. From preparing garments and capturing the right photographs to reconstructing hidden details and carrying out final quality checks, each stage plays an important role in producing consistent ecommerce images.
Following a clear ghost mannequin editing workflow not only improves image quality but also reduces production time and helps create a more consistent product catalogue.
In this guide, we’ll walk through each stage of the workflow used by professional editors, from the camera to the finished ecommerce-ready product image.
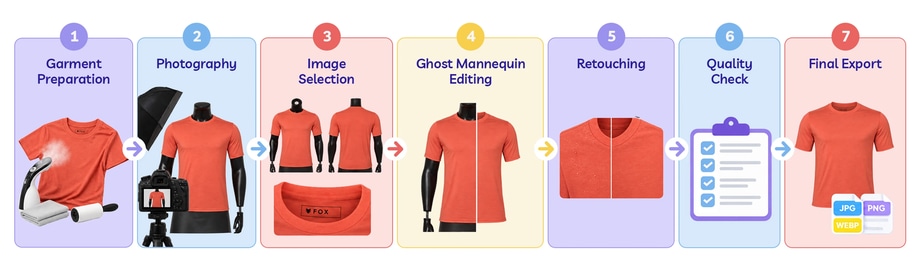
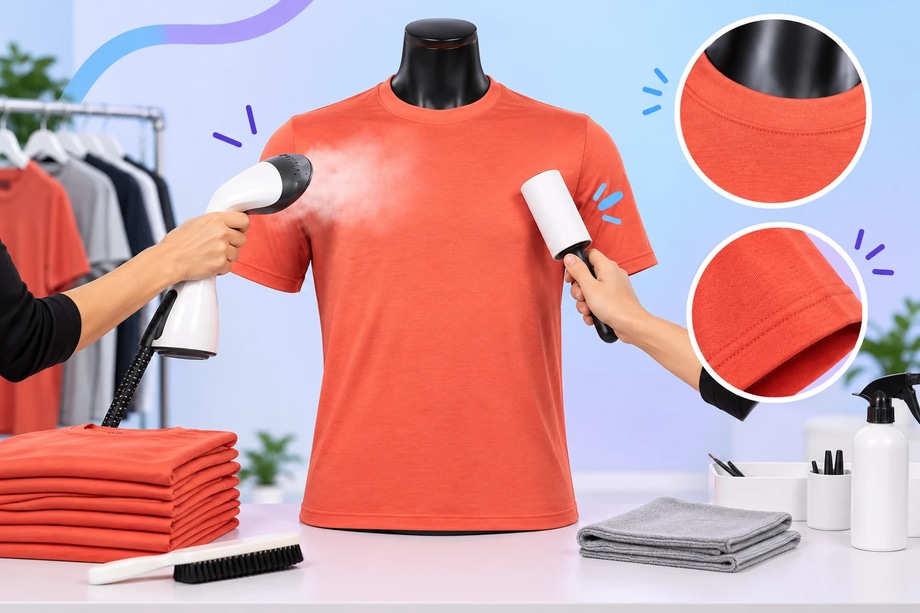
Step 1: Prepare the Garment
Professional editing starts before the first photograph is taken.
Every garment should be carefully prepared by removing wrinkles, lint and loose threads, checking buttons and fastenings, and ensuring collars, cuffs and seams are positioned correctly.
Small issues that are overlooked during photography often become much more time-consuming to correct during editing.
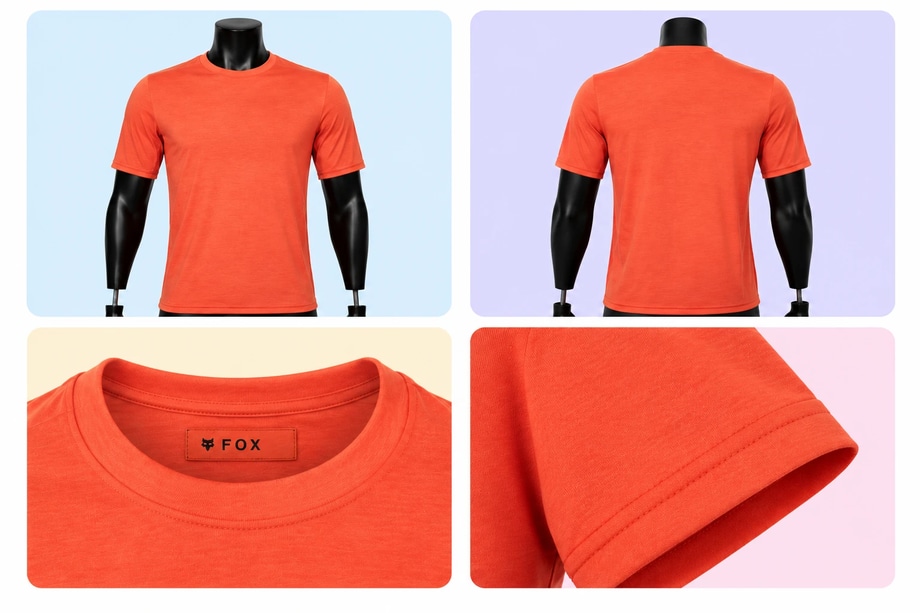
Step 2: Photograph Every Required Angle
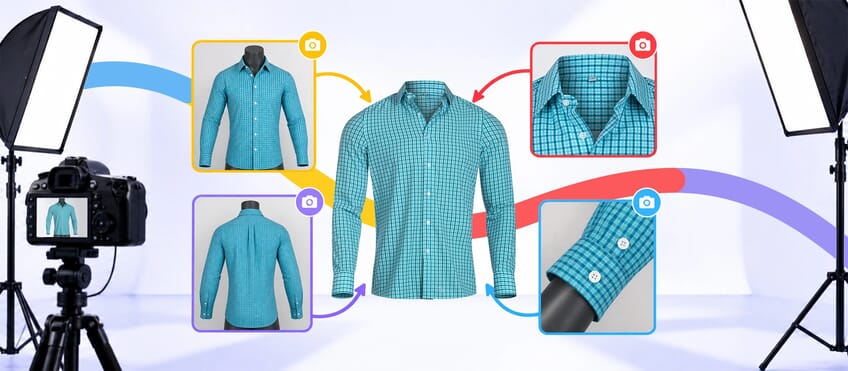
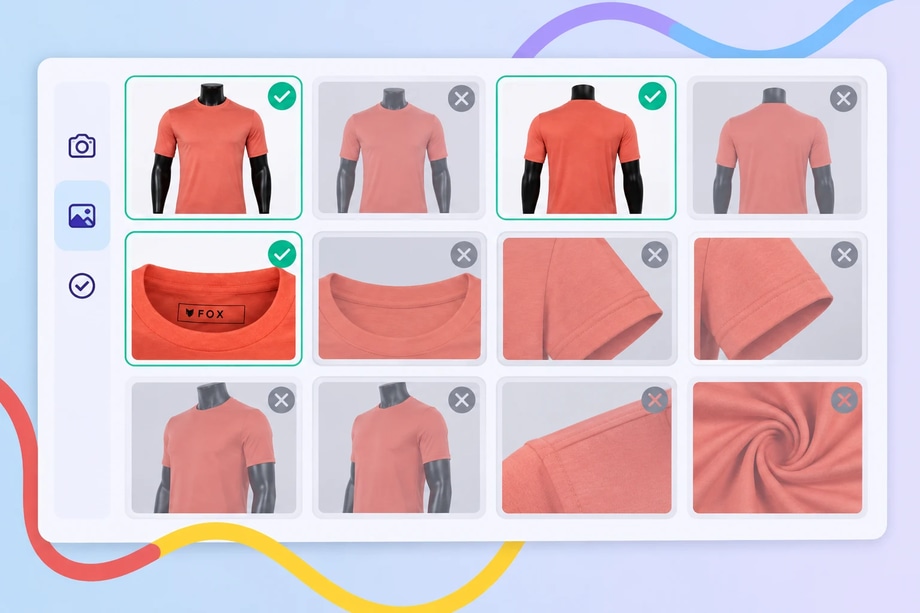
Unlike standard product photography, ghost mannequin editing requires multiple photographs of the same garment.
Typically these include:
- Front view
- Back view
- Inside collar or neckline
- Hood interior (where applicable)
Capturing every required angle during the shoot provides editors with all the information needed to reconstruct hidden areas naturally.
Missing even one key photograph can slow down the editing process or make it impossible to recreate certain garment details accurately.
Step 3: Select the Best Images
Before editing begins, photographers or editors review the photographs and select the strongest images.
This stage includes checking:
- Sharp focus
- Correct exposure
- Garment positioning
- Consistent lighting
- Missing details
Selecting the strongest images at this stage reduces unnecessary editing, improves consistency and helps the entire workflow run more efficiently.
Step 4: Create the Ghost Mannequin Effect
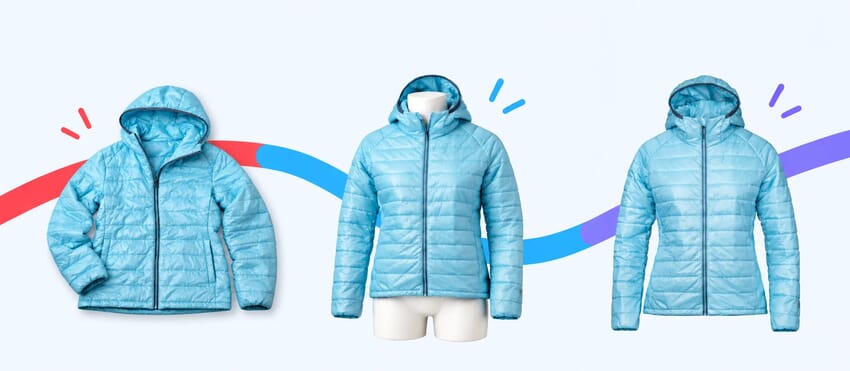
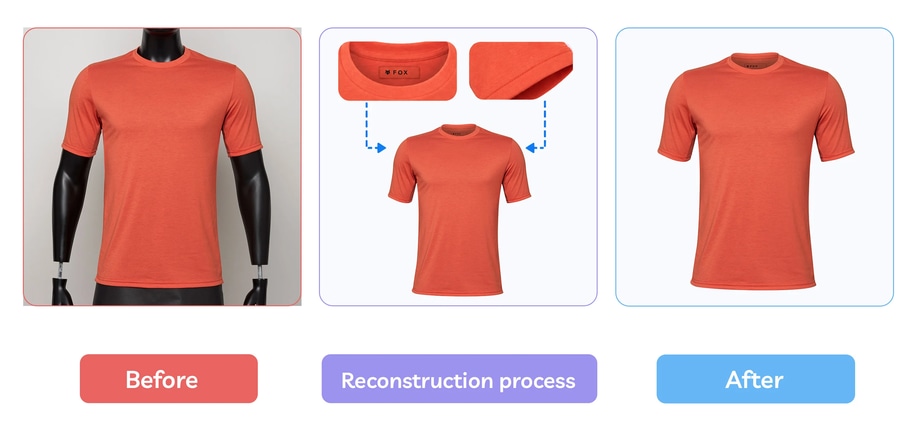
This is where the invisible mannequin effect is created.
Editors carefully remove the mannequin using techniques such as clipping paths and layer masks before combining the additional photographs to rebuild hidden areas such as collars, necklines and hood interiors.
Rather than simply deleting the mannequin, professional editors reconstruct the garment so it appears naturally worn while remaining completely hollow inside.
This stage requires careful attention to garment shape, fabric alignment and overall realism.
Step 5: Retouch and Refine
Once the ghost mannequin effect has been created, the image is refined.
Typical adjustments include:
- Removing dust and lint
- Colour correction
- Contrast adjustments
- Wrinkle reduction
- Edge clean-up
- Fabric consistency
These finishing touches ensure every garment looks clean, consistent and ready for publication across your ecommerce catalogue.
Step 6: Final Quality Check
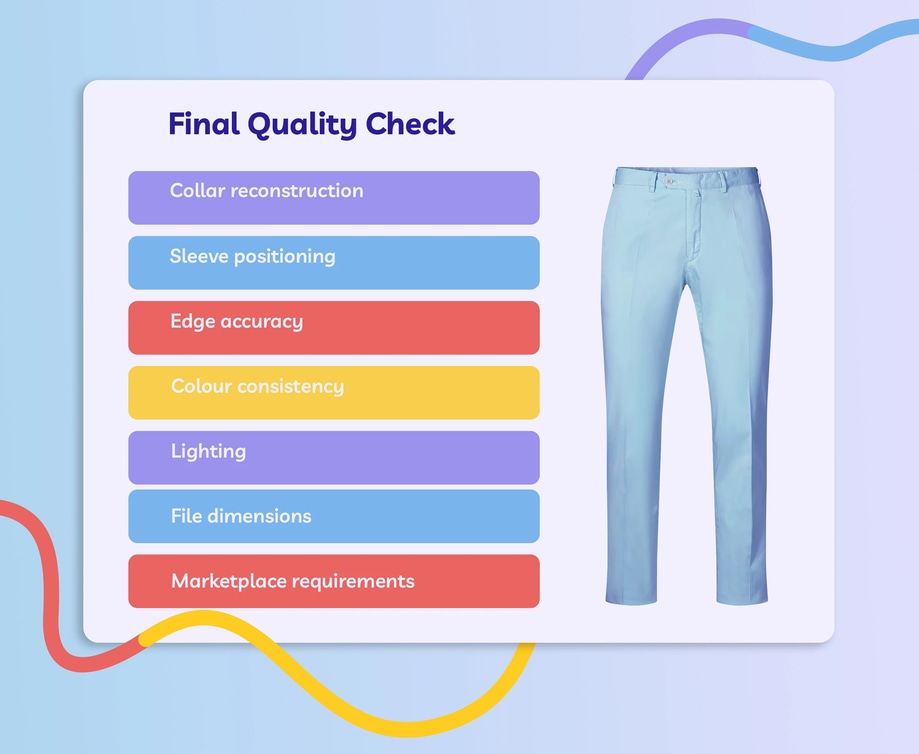
Before images are delivered or uploaded, every file should be checked for consistency.
Professional editors typically review:
- Collar reconstruction
- Sleeve positioning
- Edge accuracy
- Colour consistency
- Lighting
- File dimensions
- Marketplace requirements
This final inspection helps ensure every product image is ready for ecommerce.
Why a Structured Workflow Produces Better Results
High-quality ghost mannequin images aren’t created by one editing technique alone. They’re the result of a consistent workflow where every stage builds on the one before it.
Preparing garments carefully, capturing the right photographs, reconstructing hidden details accurately and carrying out thorough quality checks all contribute to a professional finished image.
Whether you manage ghost mannequin editing in-house or partner with a specialist editing service, following a structured workflow helps improve quality, reduce production time and create a more consistent ecommerce catalogue that reflects your brand.
Want to see the complete process in action? The video below walks through the ghost mannequin editing workflow in Photoshop, showing how multiple garment photographs are combined into a finished ecommerce-ready product image.