


When photography was first invented, the images were pretty rudimentary. When you consider the equipment early photographers used, the crude quality makes complete sense.
Photographers quickly began to experiment with new techniques. In a few decades, they’d moved on from printing whatever they could achieve to editing their images to perfection before printing.
In fact, the earliest known example of an edited photo is one taken of Abraham Lincoln way back in 1860. Well, it was the head of Abraham Lincoln, anyway — the photo editor created a composite of Lincoln’s head and John C. Calhoun’s body.
Since then, editing has become a widely accepted part of the photo creation process. Nowadays, photographers won’t even show you an in-process image on the back of the camera — they’re much more likely to want to show off a complete, edited image. Here’s why.
Why edit photos?
When it comes to producing photos, the widely accepted best practice is to do as much as you can “in-camera”. This means getting the shot as close as possible to your visions before you ever open the image file in Photoshop.
After all, this saves a significant amount of time that you’d otherwise spend in front of the computer. And it makes for a cleaner, higher-quality final image.
Having said that, there’s a lot you can’t achieve in-camera, and extenuating circumstances (like bad lighting situations) that can push a photographer to make decisions they know they’ll have to fix in the editing process.
Particularly artistic and creative edits might only be accomplished in post-processing. Of course you need the photography basics — depth of field, composition, framing, focus, etc. — but something like unnatural saturation or blending two objects together need more advanced edits after the shot has been taken.
Other than creative edits, there are a couple more reasons why a photographer would choose to edit their photos.
Photos need to be optimized for the channel they are to appear on.
Ever shopped on Amazon? If you have, you’ve seen a lot of edited photos. Amazon and other ecommerce marketplaces have rules about approved product photos, so the photographers who create those shots must follow suit. In this case, many photographers rely on services like those from Path to make sure the images are as bright, attractive, and compliant as they need to be.
The photographer ran into bad conditions at the shoot.
When you’re striving to make the best image possible, you control the situation as best you can. But sometimes there are things outside of your control, so you have to make do.
If the lighting isn’t optimal, you weren’t able to take your time to perfect the set, or even you didn’t have the best camera, these are all instances in which you might need to rely on Photoshop or other programs to bat clean up for you.
How much of product photography is editing?
You might be wondering how much of an image is achieved in-camera versus how much photographers “fix” afterwards in programs like Photoshop.
The answer (like most in life!) is… it depends.
If you’re looking at a fine art photo or a beauty portrait, they’ve likely had a lot of editing and retouching.
If you’re looking at basic product photography, on the other hand, those images are likely to have been edited with a light touch. No one wants a product that looks nothing like the picture on the internet.
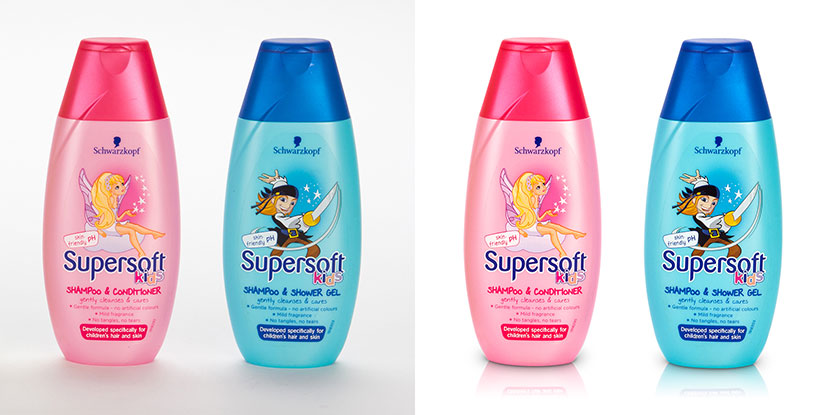
Here’s an example of an unedited product image next to one that’s been edited by the team at Path.
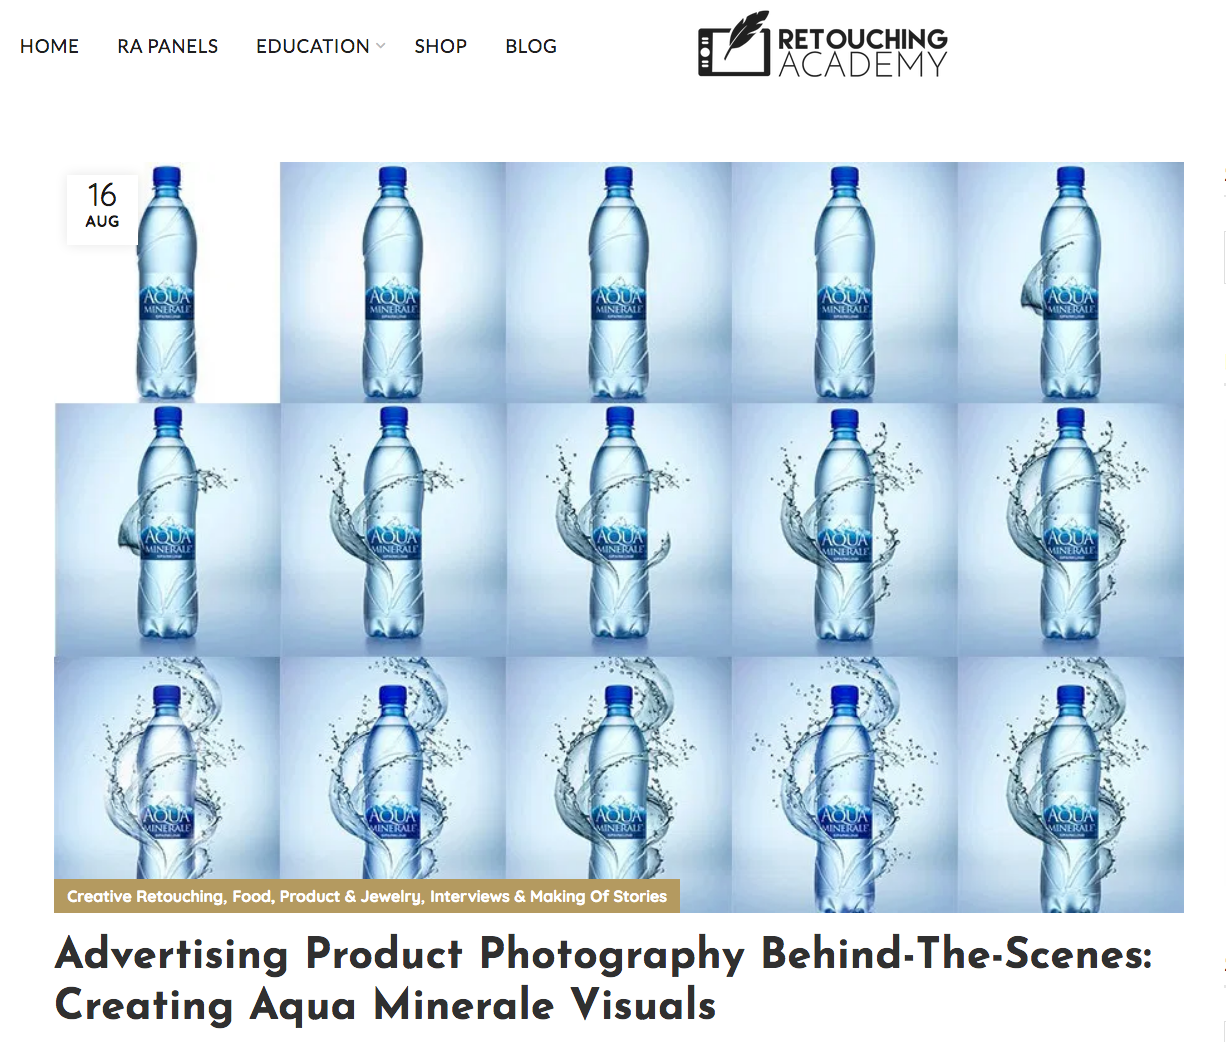
Of course, there are also times when photographers edit images artistically to convey a specific point-of-view. Here’s a fantastic post about some of the work that goes into one of these artistic advertising images.
How do photographers edit photos?
Now that you’ve seen some of what’s possible, maybe you’re thinking, “But how? How do they make these edits so effortlessly?”
Unlike the past when all manipulation was done in a darkroom, there are a variety of tools and computer programs today’s photographers use to get their photos in tip-top shape.
There’s Adobe Photoshop, which is the biggest, baddest, and best of them all. This program has been the gold standard for photo editing pretty much since its inception in the late ’80s.
There’s also Adobe Lightroom, which makes batch editing a breeze.
Beyond the Adobe suite of programs, there’s a host of other editing software, too — each with its own merits:

- Capture One: To edit RAW photo files, you can use Capture One. This program has a lot of great features including advanced color editing.
- ON1 Photo RAW: ON1 Photo RAW 2020 is similar to Capture One, and it offers 170 different effects.
- Corel PaintShop Pro: Another good option that’s been around for a long time is PaintShop Pro. This program allows you to use lots of photo editing tools and each one of them has a learning tutorial so you can get proficient fast.
- GIMP: If you want an option that’s robust but free, GIMP is a classic choice. It has many of the options that Photoshop and Lightroom offer — and you can’t beat that price tag!
- PicMonkey: Another low price option is PicMonkey. While it doesn’t have all the bells and whistles that some other programs offer, it’s extremely user-friendly and a good way to get your feet wet with image editing.
When it comes to editing photos to a professional standard, there’s always one more fantastic option: outsource. If you’re not really into editing photos, not certain of your skills, or simply too busy to sit in front of a computer, then outsourcing could be perfect for you. Here are some resources to help you learn how to outsource your product photo edits:
- How to Outsource Product Photo Editing so You Can Get Back to What’s Important
- Outsourcing Your Photo Editing? Here’s How to Find the Best Option
- How Ice Cream Castles Reduced Product Photo Turnaround from 1 Week to 1 Day
What edits do product photographers make to their images?
Each of the options above has different capabilities, but there are a few steps that photographers take often — regardless of their photo subject.
Some common edits include things like:
- Cropping to adjust the frame of the photo and draw attention to a specific subject.
- Straightening to make sure the horizon of the image is level. A tilted subject in a photo looks and feels off kilter. (We’ll straighten your shots for free with any order.)
- Adjusting brightness to ensure a pleasant exposure. Images that are too bright or dark lose important information and lack detail in high-contrast areas.
- Retouching and removal of blemishes, wrinkles, dust, and other imperfections.
- Removal of unwanted objects from the background or the foreground.
- Modify shadows and highlights to add depth and give your product a more three dimensional look.
- Optimization for different channels. Every channel — from print to Amazon, social media to catalogs — has different standards for your photos to stand up to.
And these are just the basic edits. You can make images artistic, minimalistic, and evocative — all with the power of editing.
Not happy with the shadows in your shot? You can learn how to add a natural shadow in Photoshop to fix them in post-processing.
How much editing is too much?
One downside to all these amazing Photoshop capabilities is that it can be easy to over-edit a photo. (Here’s an article about what that might look like.)
When you’ve been staring at the screen for hours, you might lose a sense of what looks good and add too much vibrance or clarity to your image. This can result in a too-intense or “crunchy” photo.
A few more tell-tale signs of too much editing are overly smoothed skin, missing details (like areas of too much highlight or too much black), and extreme vignetting. If it’s a little too much, it will make the photo “feel” wrong to a viewer, but if it’s a lot too much? It might be a total fail.
Photoshop fails
Have you ever scrolled through Facebook and saw an ad with an image that made you stop and take a second look — in a bad way?
Sometimes, there’s something off in an image, and you just can’t quite put your finger on what it is…
Other times, it’s painfully obvious: The model has an unnaturally long arm, there’s a weird reflection in the background of something that’s missing from the foreground, or the family in the photo all have plasticky-perfect skin and glowing eyes.
These are all perfect examples of Photoshop fails, which is what happens when an unskilled editor goes too far in Photoshop. Basically, it’s editing gone bad.
Fortunately, it’s not hard to avoid Photoshop Fails. If you keep a layer of the original image in your layers window, you can toggle back and forth to see if your edits look realistic or if they’re truly out of this world. (If you think you might have gone too far with your edits, chances are you did.)
Moving forward with your photo edits
Now that you know the secrets of photo editing, you may look at images differently. Some feel concerned about the effects of the perfection of images we see daily, but others are inspired by the beauty and precision.
At the end of the day, all we know is this: If you want a perfect image, and you’ve got a vision in your mind of what it should be, then editing can help you get there.
Happy shooting, and happy editing!

")

")


")


