Clipping path and image masking are both useful image editing techniques to help you isolate a subject from a background. The main difference for clipping path vs. masking is how you isolate the subject.
Isolating a subject allows you to repurpose your product photo and use it on any other background to fit your ecommerce or marketing needs.
Clipping path and image masking are two techniques that help achieve this. But what are the differences between the two? Let's look at the breakdown for clipping path vs. masking and which tasks each photo editing technique is best suited for.
Clipping path vs. masking: what’s the difference?
The main difference between clipping path and image masking is the technique you use to remove the background from an image.
More complex images require image masking. It’s technically possible to remove the background from complicated images with clipping path, but the result isn’t as appealing as it would’ve been with image masking.

As you can tell in the image above, the photo edited with clipping path looks unnatural. That’s because the hard edges of a clipping path are visible. On the other hand, image masking handles hair very well for a seamless finish.
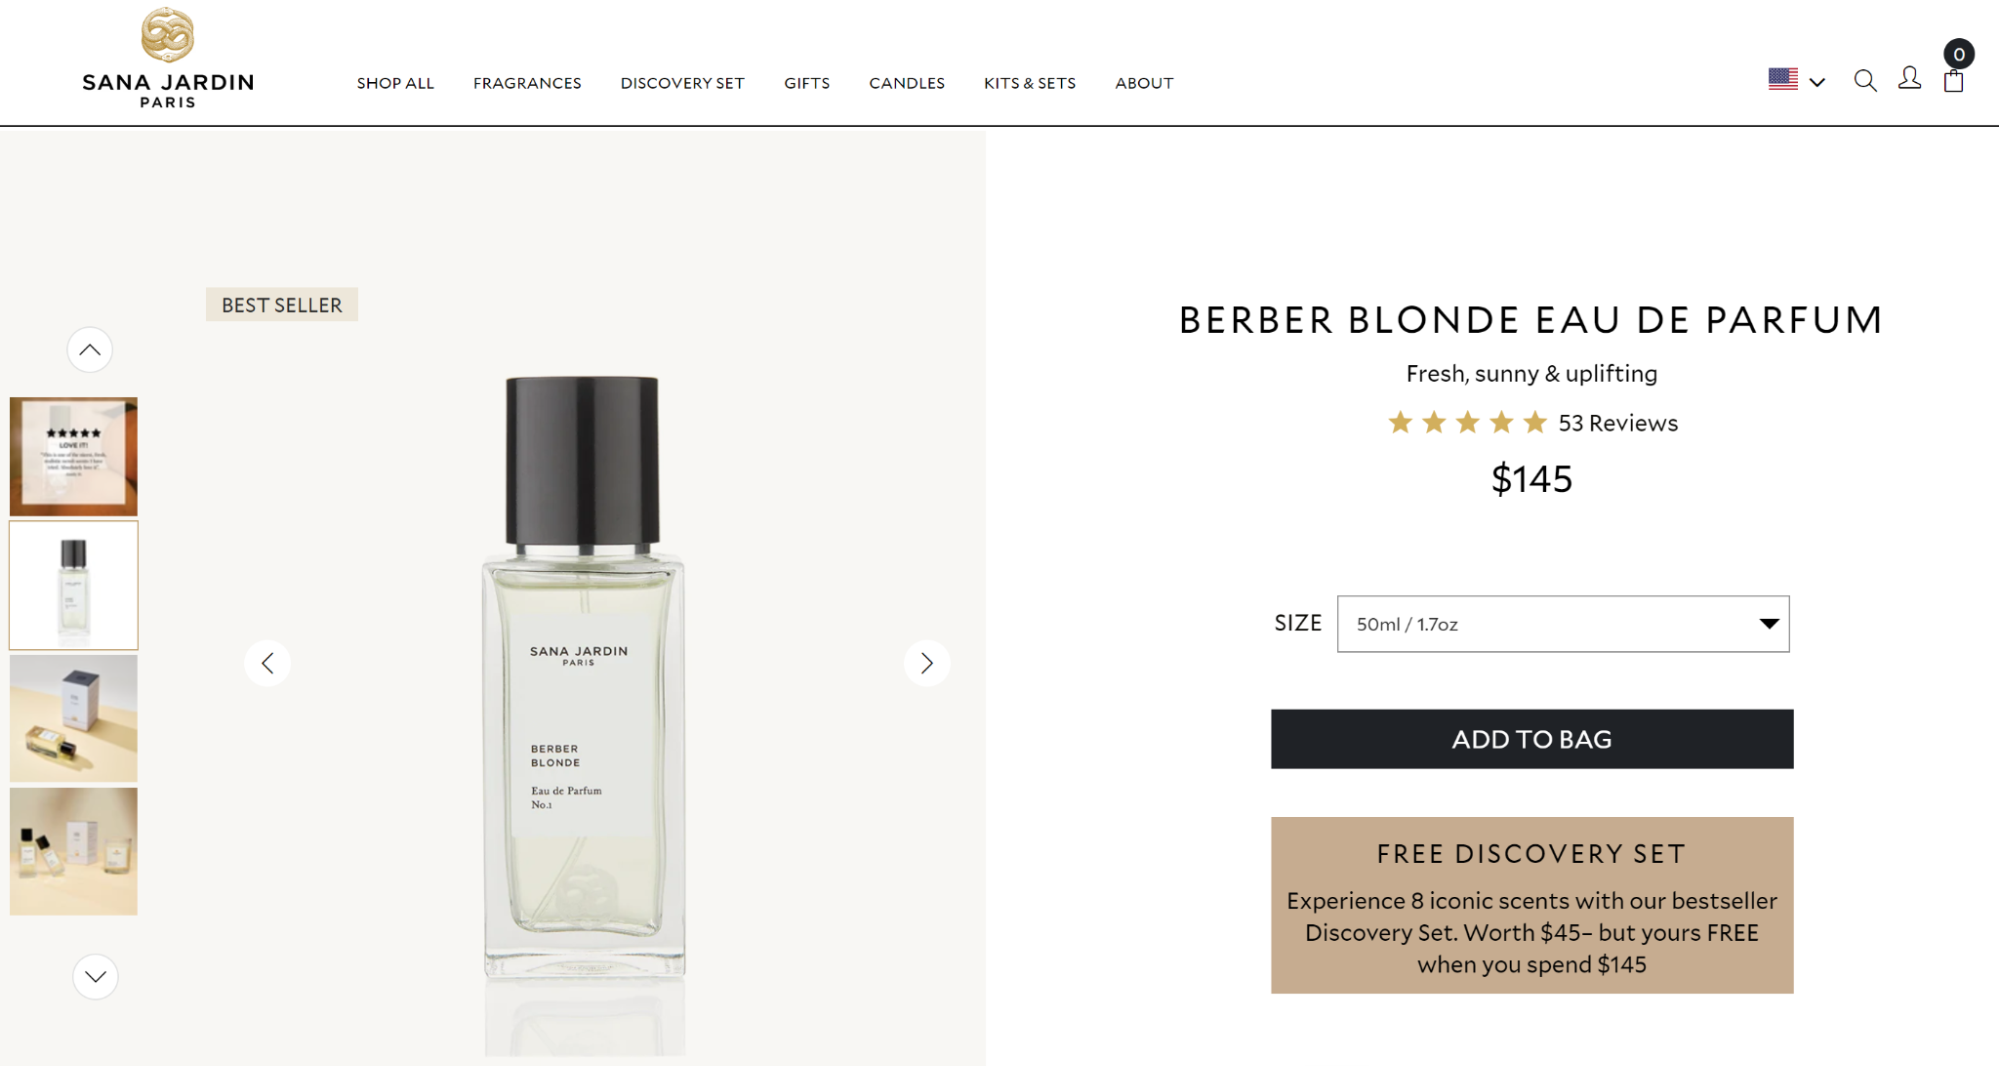
For more straightforward products, like Sana Jardin’s perfume bottle below, the brand likely used a clipping path. The result of shooting this shiny product? A sleek, clean-cut perfume bottle with a reflection shadow that adds a touch of luxury.
And to get the natural—but not messy—outline, the photo editor probably used image masking to remove the background of this Crown Affair scrunchie photo. Note the use of drop shadow as well. Adding a subtle shadow to products creates a 3D look and helps them stand out, especially against a clean white background.

You can use both techniques in a single image: clipping path for straight, hard edges and masking for the softer or more complex areas. If a photo calls for both image editing techniques, your best bet is to use a clipping path first and then follow up with masking for the finer details.
For example, this play gym from Lovevery was likely edited using a clipping path and masking.

The stronger lines of the toy’s frame could easily be edited with clipping paths, but masking would be more appropriate for the softer material bottom and baby’s hair.
What is a clipping path?
Like image masking, clipping path is an image editing technique that allows you to remove the background from an image. You can create a clipping path using the Pen tool in Adobe Photoshop and then selecting paths that form a closed vector shape to separate a part of the image. Everything inside the path will be selected, and anything outside will be left over.
Clipping path is generally used when the subject of the image has straightforward edges—think boxes, electronics, simple accessories or garments, ornaments, etc.

Still, clipping paths require an experienced, accurate hand. A poorly drawn clipping path can result in images that don’t look real or natural, and consumers easily notice even the smallest mistakes. Sloppy images don’t make a great impression, and that’s typically reflected in sales.
You want your product photos to stand out—in a good way—so you definitely want to consider working with a professional for these types of edits. To give you an idea of the level of detail involved, we zoom into images sometimes as much as 200% to get as close to the edge as possible.
Types of clipping paths
Clipping paths aren’t too complicated, but there are a few different types of clipping paths:
Single-layer clipping path
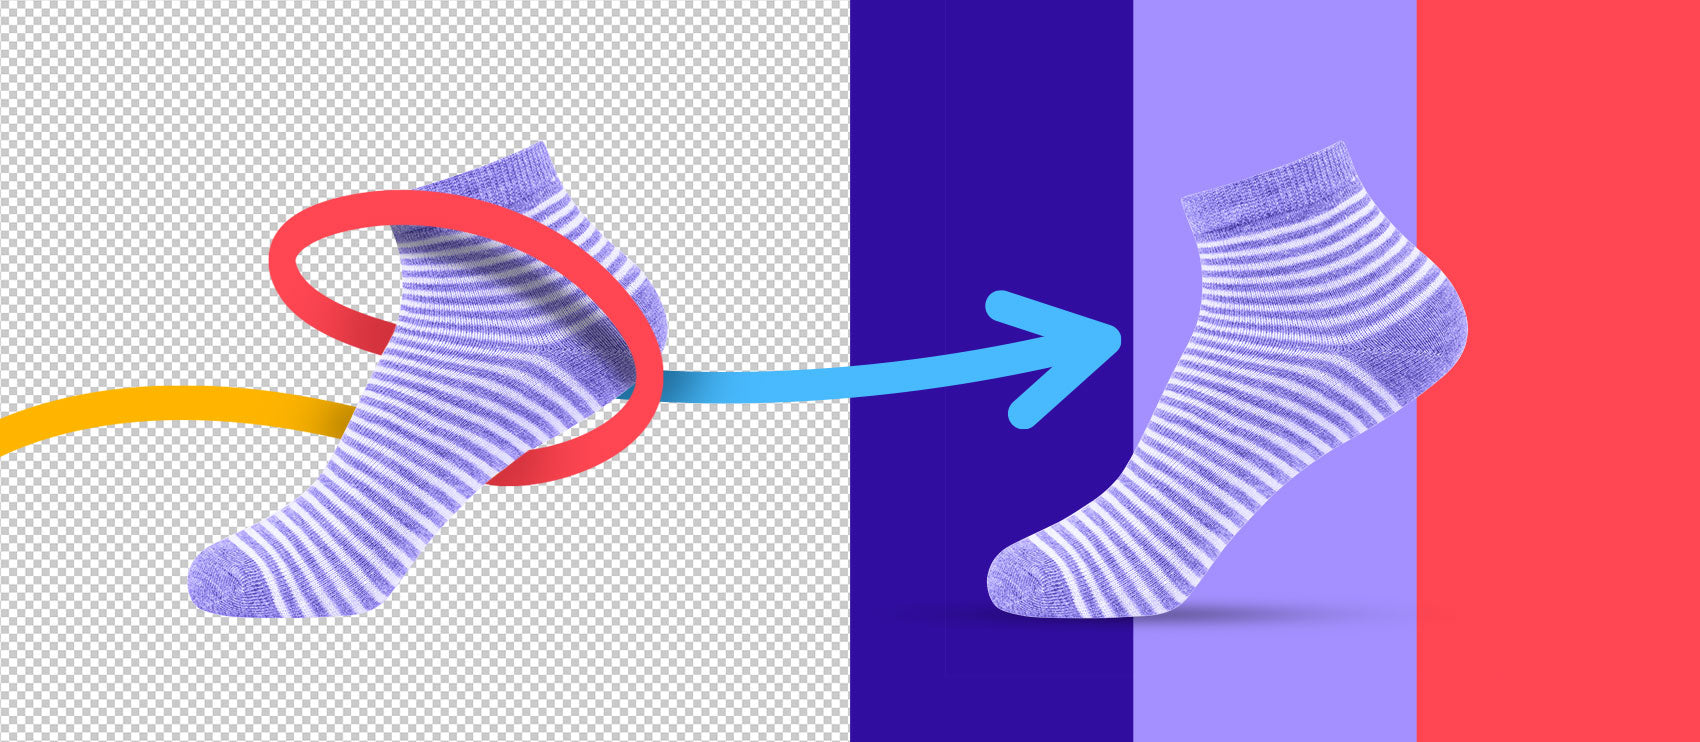
A single-layer clipping path is a simple path created on one layer with the Pen tool in Photoshop. This is useful when you need to remove or change the background for subjects with straight, simple edges, like in the examples below.

Multilayer clipping path
Multi-layer clipping paths are created with the Pen tool in Photoshop to extract multiple parts of an image. This is an advanced type of clipping path used to separate each part of a photo and is particularly useful for retouchers, especially to color correct sections of the image.
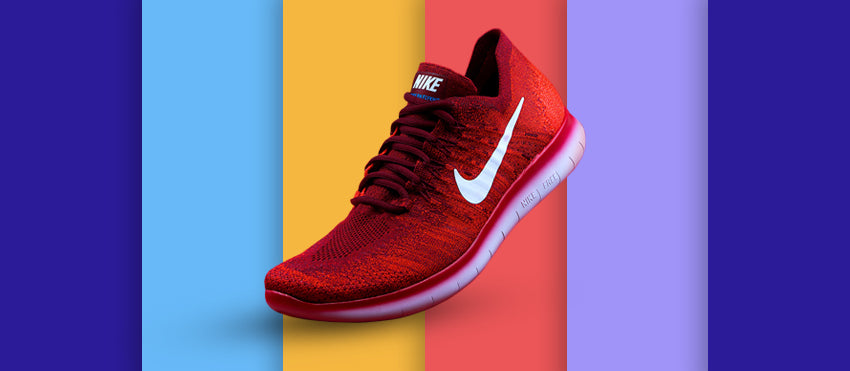
In the example below, we created a separate clipping path for each shoe and shoelaces. This allows not only to remove the background, but also to change the color of each shoe without altering the shoelaces.

Illustrator clipping path
Photoshop isn’t the only software or app you can use to create clipping masks. Adobe Illustrator also has its own path and mask tools. Referred to as Clipping Masks in Illustrator, this tool allows you to cut out portions of an image into a specific shape.

What is image masking?
Image masking is another method of image background removal. This technique involves a variety of tools in Photoshop, such as Background Eraser tool, Magic Eraser tool, and color separation technique.
Masking is a non-destructive way to adjust a part of your image while leaving the rest untouched. For photo editors, that means more control over where and how the image adjustments take place because masks are applied on layers. Masking is typically used for images that contain more complex lines, like hair, fur, etc.

Using AI to remove background and complete clipping paths and image masking
What if you're in a hurry or don't have access to a professional retoucher? Artificial intelligence (AI) photo editors and AI masking features in Photoshop can help you quickly remove the background without any editing experience.
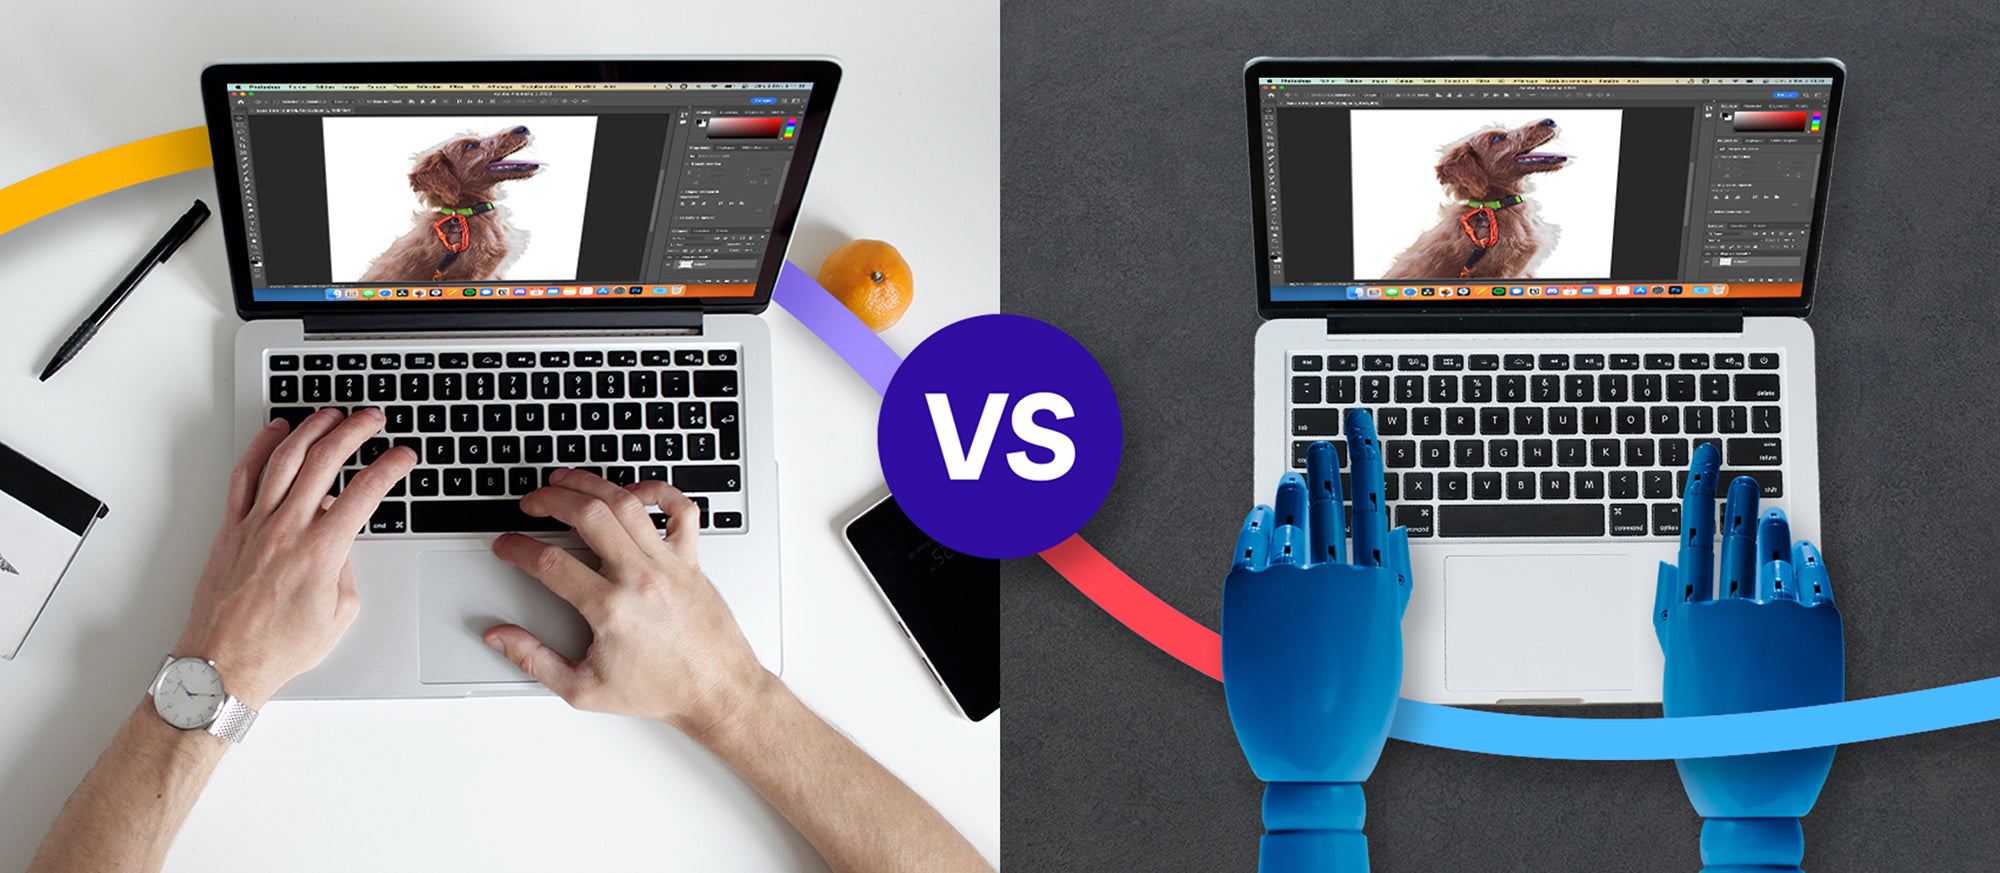
The downside is the result won't be as high-quality as hand-edited background removal using clipping paths or masks, especially for complex subjects. But for some marketing visuals, you might find it’s just enough. If you’re curious about the differences between AI and professional retoucher edits, take a look at this AI background removal comparison.

Why should you remove the background from product photos?
Perhaps you wonder why it may be necessary to remove the background. After all, can't the photographer simply shoot a great product photo that’s publish-ready? There are a few reasons why you may want to consider isolating a subject in a photo:
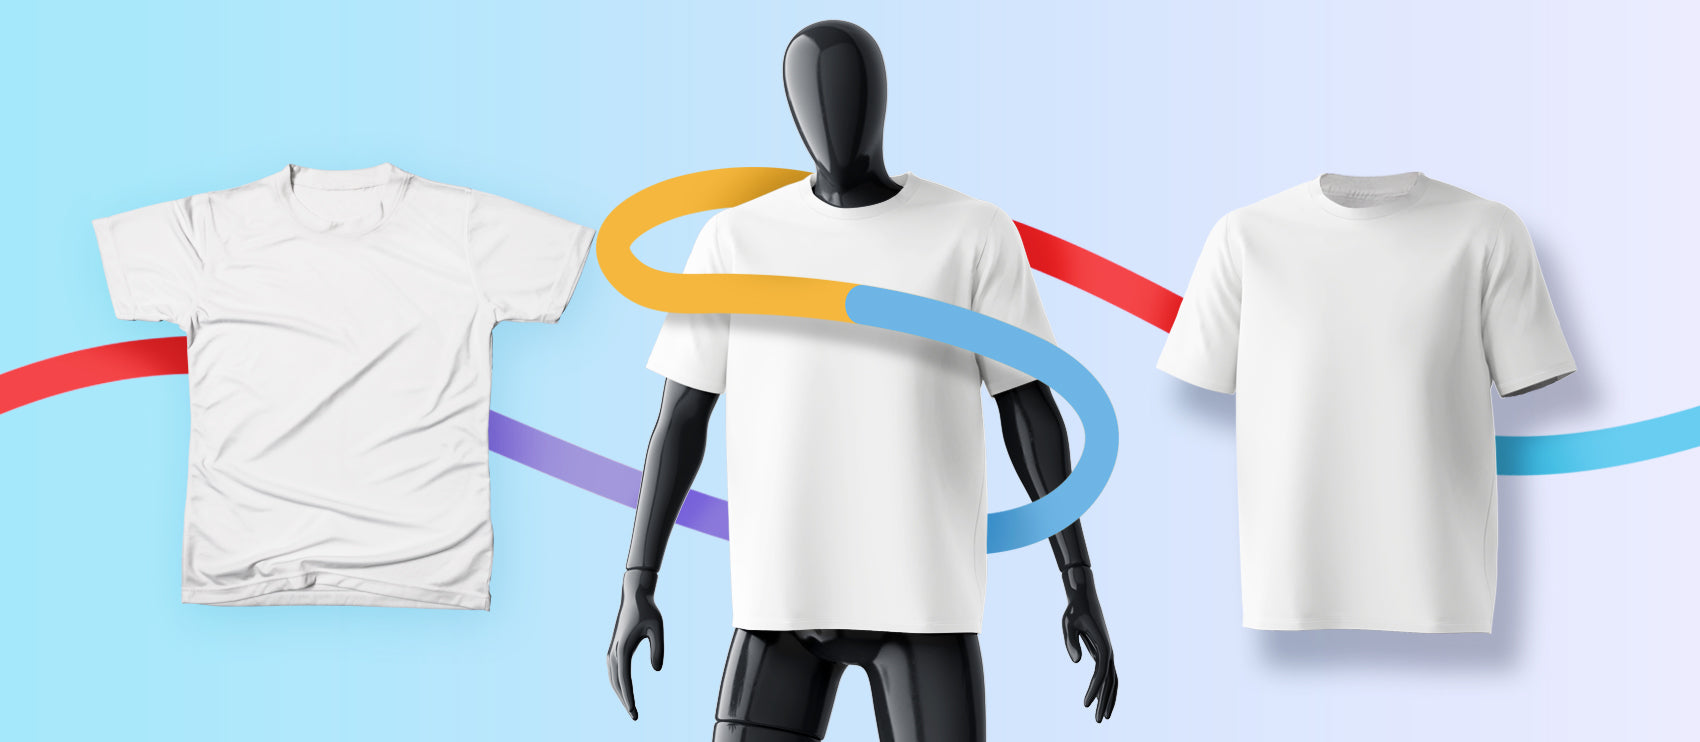
- Allows you to reuse visual assets: Once you’ve removed the background, you can repurpose your photo to fit Amazon and other marketplaces, create ghost mannequins for apparel, design creative marketing visuals, and more.
- Cost-effective: Whether you isolate the subject yourself or outsource it to professional photo editors like Path, it’ll cost significantly less than photographing the same subject again. Ordering photo edits in bulk will cost even less.
- Saves time: Instead of organizing a new photoshoot, you can use already photographed subjects and create new visuals in just a few hours, perfect for last-minute campaigns or store listings.
- Elevates DIY photos: Not every photoshoot will have a spacious or perfectly-lit studio space. Knowing you’ll remove the background makes DIY product photography more accessible for smaller budgets.
- Removes distractions: If you aren’t able to shoot on a clean white background and avoid unwanted objects in your shots, background removal erases all of that.
- Makes pixel-perfect images possible: If you’re creating product groups, it's easier to mix and match products with removed backgrounds for sharp, well-lit results, like the example below by vegan skincare and fragrance brand Fais. It features several products that all have backgrounds removed before placing them in a group to create a gift set.

The bottom line on clipping path vs. masking
When it comes to background removal, neither method is superior in a clipping path vs. masking comparison. Both clipping path and masking edits have their place in photo retouching, especially for the wide variety of images needed for ecommerce photos. And both require a practiced hand to execute well.
Interested in professional, affordable photo edits? The Path team does all edits by hand and offers 24/7 support.
Let us look after your clipping paths and masks, so you can get back to the fun stuff. Try Path free.
Learn more


![How to Remove the Background from Hair in Photoshop: A Tutorial [Updated 2024] How to Remove the Background from Hair in Photoshop: A Tutorial [Updated 2024]](http://pathedits.com/cdn/shop/articles/1_How_remove_background_from_hair_in_photoshop.jpg?v=1626120888)
