My eyes were stinging from staring at my monitor for so long, and my back burned from standing while I worked. It had already been over an hour, but I told myself, “You can do it — just 15 more minutes and this step will be done!”
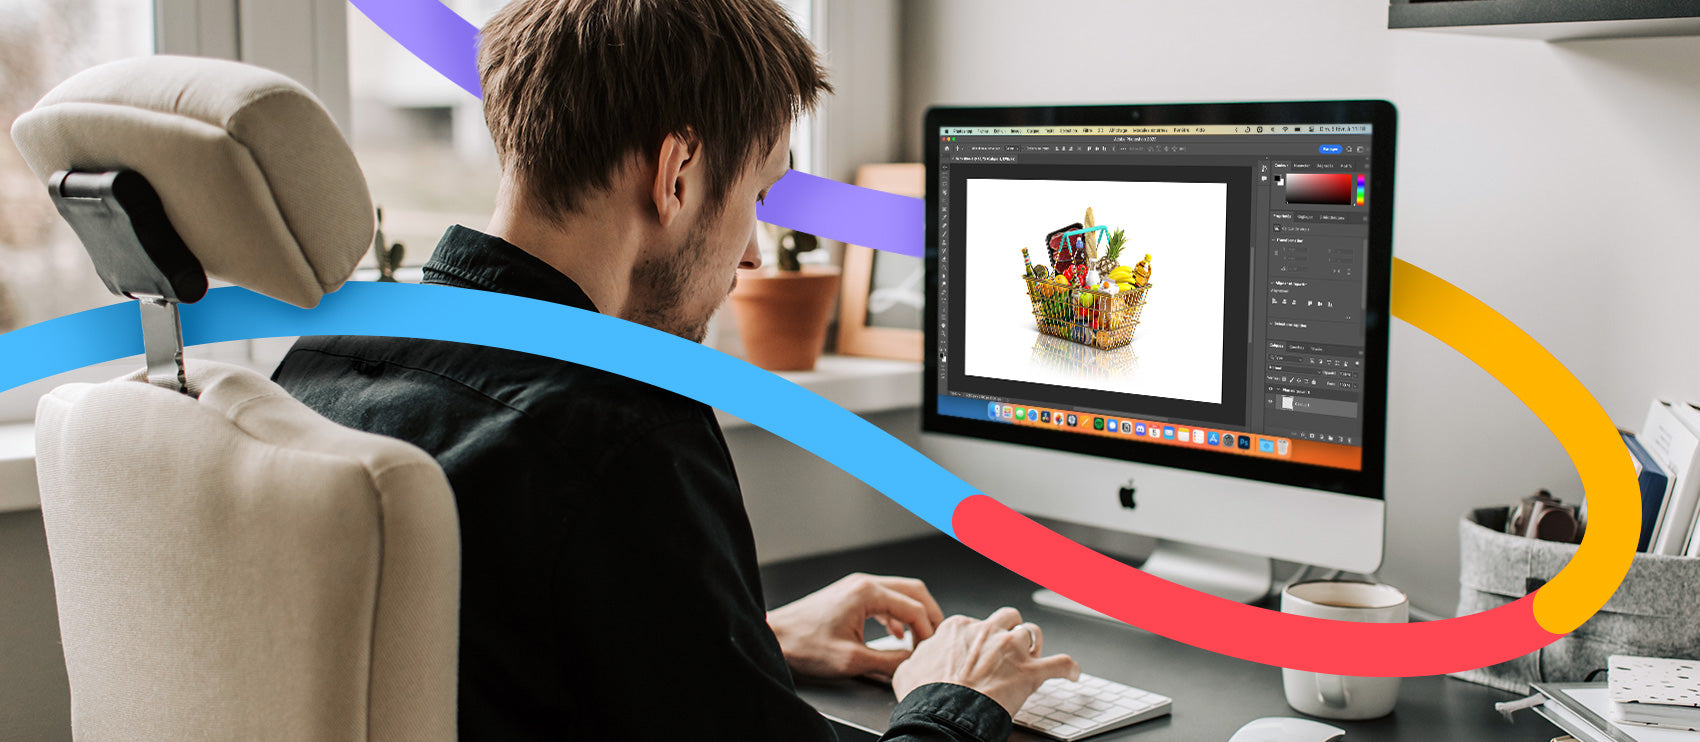
I continued selecting groups of images from the main folder in Adobe Bridge, opening them in Adobe Camera Raw, and looking at each one, asking myself, “Is this the one? Or should I keep the next one?” I then gave each and every image file a rating of either two stars, or zero stars depending upon if I thought it was good enough to move to the next phase… but I was starting to doubt myself.
Because I was staring at the photos for so long, I was losing the ability to discern what I liked about the photos in the first place.
I had already gotten tired of this job — and I hadn't even edited one single image.
That’s right, I was stuck in the culling phase.
What is culling?
Photo culling is the process of reviewing your images and choosing the best ones so you can edit them and then, of course, share them or send them to your client. Prior to editing, the files from your photo session must first be culled.
This is a necessary step in the process because we can’t keep, edit, and share every image we create. That would be overwhelming for both us photographers and our clients.
Why do you need culling?
Culling is necessary because...
- Culling saves storage space. You might have a 2TB external hard drive (like I do), but when you’re shooting several sessions and trying to keep all of your RAW files, you’ll find out it fills up much more quickly than you’d ever imagined. If you cut the images you don’t need, you’ll be able to use that harddrive for much longer.
Photo culling is a useful skill no matter what your photographic specialty is, but it’s especially important when it comes to product photography. Unlike family portrait clients who see the beauty in every frame and every expression, product clients are there to get the photos they need to make their items sell. That’s it.What you need to cull out from a product shoot? Picking “the bad ones” out of a session where humans are the main subjects can be pretty easy. You can go through and confidently remove the ones with blinks, hair across the face, unflattering expressions, etc. With product photography, culling is a little more nuanced. Sure, there are easy picks to remove, like duplicate shots or lighting test images, but when you’re past that step, you get into the “These shots are all okay” territory… And that’s when it starts to get difficult. With product photos, you’ll have to narrow it down based on every single aspect of the image. Do you prefer the highlight here… or here? Is it better when the shadow falls this way… or this way? Many photographers cull their images in Lightroom, and others use ACR (like me). Still others use programs like FastRawViewer to preview their photos and delete them right from the card. No matter which program you use, culling is very helpful and necessary… but it can also be tedious and time-consuming. Culling a single session can take hours, and as I mentioned, it’s a lot of reviewing and asking yourself “this one or that one?” over and over and over again. I don’t know about you, but I think that time would be better spent on shooting or marketing my business. Luckily, that’s where photo culling services come in. With a photo culling service, you can upload your entire session and let someone else do the choosing for you. They can help you filter out the bad images, and sort and organize the good ones. They can also make your life easier by batch renaming your files which makes them much easier to find when you’re looking for them later. Outsourcing your culling saves you time, money, and frustration. Like I mentioned earlier, it’s easy to get so caught up in your images that you no longer know which photos are best. When you send them out for culling, you get to avoid this stress entirely. Of course, you don’t have to outsource every single session. If you want the absolute highest degree of creative control, you should probably take the time to do this step yourself. If you didn’t charge enough to still retain a profit after sending out your culling, you might want to take care of it on your own, then, too. Remember: time is money. If your time is better spent on other tasks that will make you more profit, then by all means, send out your culling. If you’re comfortable letting someone do the heavy lifting for you, it’s totally worth it to outsource your photo culling. You’ll save tons of time and stress, and best of all, you can get back to doing what you love the most: shooting photos!
If you have a trusted editor, ask if they offer photo culling services. If they don’t, look around for companies with great reputations and stellar customer service. Once you’ve determined who you want to work with, the process is simple. You’ll upload and send your images off, then you get to sit back and wait. Hopefully, you now know just how important culling your images is. Once you’ve trained yourself to be really picky about this process, you’ll see the overall quality of your portfolio improve quickly. Whether you decide to cull your own photos or to save time and send them out, just remember this. When it comes to high quality photography, less is almost always more, so be ruthless and cull accordingly!
Why do product photographers need to cull their images?
Of course, you can avoid a lot of this by shooting slowly and intentionally, but even then, you’ll still have to spend time choosing which images are the absolute best.How do photographers cull their images?
What are photo culling services?
When should I outsource my photo culling?
How to outsource photo culling
To cull or not to cull?


