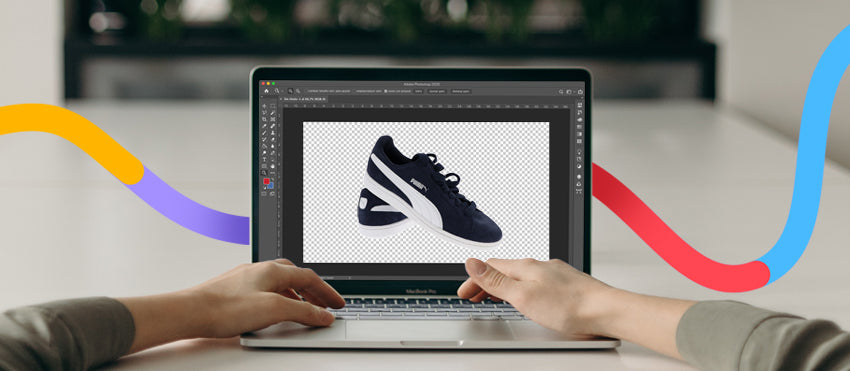
It’s hard to remember there was ever a time before Photoshop.
After all, nearly every professional image we see online or in magazines has been ’shopped to perfection.
And as a photographer, it’s all too tempting to rely on fixing an image in post if we don’t get it right in camera.
But photography did exist before Photoshop—for about a hundred and sixty years, actually.
A quick look at the history of photo editing
The first photograph was made in 1826. It was a rudimentary image of the landscape outside the photographer’s window.

Around 30 years later, the first manipulated photo was created. This was at the time of the American Civil War, and the photographer took an image of John C. Calhoun and replaced Calhoun’s head with none other than that of President Abraham Lincoln.
That’s right—the original deep fakes are over 150 years old!
Photo editing has advanced lightyears since then, but it can still be fun to review some of the classic techniques and see how far we’ve come.
Here are a few original photo creation and editing techniques and what we do nowadays instead:
Daguerreotypes, ambrotypes, and tintypes
The earliest photos weren’t photos as we know them today. Instead of being printed on paper, they were printed onto chemically coated glass or metal plates directly from the camera. Each photo was developed and printed in a single step. Still, it was time-consuming and somewhat dangerous (some of the processes used toxic substances like mercury), but some of these fascinating images are still around to this day.
These days, we skip the developing step and sometimes even the printing part of the process. We’re taking more photos than ever before, but the vast majority of people are using digital cameras and smartphones to do so. One study projects people will take 1.4 trillion photos in 2021—almost all of which will be digital.
Underexposing and overexposing
Back in the days before in-camera light meters, a photographer had to know what the speed of their film was in order to make a correct exposure. You would start with the Sunny 16 Rule1 and adjust your shutter speed and aperture from there.
Tip: The Sunny 16 Rule says to set aperture to f/16 and shutter speed to the reciprocal of the ISO film speed or ISO setting for a subject in direct sunlight on a sunny day.
If you didn’t want to make a correct exposure because you wanted the image to be lighter or darker overall, you’d take your Sunny 16 formula and underexpose or overexpose your film in camera.
Today, a photographer can change the overall exposure at will with a simple slider in Adobe Bridge.

Once you’ve dialed in your overall exposure, you can make adjustments to the shadows, highlights, and midtones ensuring your image will look exactly the way you intended—no Sunny 16 math necessary.
Not happy with the shadows in your shot? You can learn how to add a natural shadow in Photoshop to fix them in post-processing.
Pushing/pulling film
Back in the day, when a photographer didn’t want to overexpose or underexpose in camera, they’d still have a chance to make this change in the darkroom.
This process involved taking the speed of the film and doing a quick equation to get your desired effect. You would then process your film with a longer or shorter developing time, or at a different temperature than normal.
Much like the last example, we don’t have to do this at all anymore. Everything can be solved with the sliders in Bridge—or if you don’t use Bridge, in Photoshop itself.

Darkroom dodging and burning
As photography techniques became more advanced, expectations of what a photo should look like did, too. Instead of dealing with the occasional too-bright spot or the oddly dark part of an image, film photogs could use physical tools2 to change the way parts of their prints were exposed.
When they wanted to lighten certain areas of the image, they would use dodging tools to block light coming from enlarger to the photo paper. This would give that one part of the photo less time exposed to the light, resulting in a paler section.
Conversely, when the photographer wanted to darken certain areas of the image, they would “burn” part of the photo, giving it a little extra exposure time under the enlarger. To burn parts of the photo, they’d cover everything else on the paper and give that one spot a little more time to develop.
This step only took a few extra seconds, but it was pretty imprecise so the results weren’t consistent.

Thanks to Photoshop, we don’t need to bust out physical tools to make this happen. Photoshop has a whole toolbar with ways you can manipulate your image. There are digital dodge and burn tools available, so you can tweak any part of your image at will.

Developing for alternative effects
Not all photographers want a perfectly exposed, color balanced image, though. Sometimes you want a more artistic effect.
Back in the day, this could be achieved with alternative developing techniques3, and the results were as fun as they were surprising.
Intentionally developing the film with the wrong chemicals (like in cross-processing) or soaking it in an acid before fixing (like in film soup) was a way to get unexpected, creative effects. Photographers also experimented with food dyes and spices to create anthotypes, and chemicals like Potassium ferricyanide and Ferric ammonium citrate to create cyanotypes. They played with everything from salt to paint to gelatin in an attempt to make their works stand out.
Here’s a fairly extreme example of a cross-processed image:

Once again, you don’t need chemicals or weird additives to get quirky or imaginative photos anymore. Modern photographers use their own recipes (or purchased actions) in Photoshop or presets in Lightroom to make their images fit their original vision—whether that be more colorful or dreamy or even bizarre.

For phone photographers, this is even easier. Like everything else in life, there’s an app for that! With hundreds of photo manipulation apps to choose from, there’s nothing you can’t do these days.

Painting in/out and and hand retouching
In photo manipulation history, if your subject didn’t come out quite right, or if you noticed an unwanted detail after the fact, you’d simply paint it out. Yes, paint it out by hand.
At that time, you would have used physical paint and paint brushes to change your image. Anything from removing blemishes to adding creative elements could be achieved—assuming you had a steady hand and artistic talent.
And while we’re huge proponents of photo edits done by hand—not machines—this type of retouching is far more tedious.
With tools like clone stamp, spot healing, and (my personal favorite) content-aware fill in Photoshop, paintbrushes are unnecessary. You can remove any distraction, you can add clouds in a cloudless sky, you can change literally anything to fit your vision—and you don’t have to get your hands dirty to do it.
IMAGE OF PATH WORK - BEFORE AND AFTER
Moving forward with your photo edits
With film, chemicals, weird processes, and days in the darkroom behind us, modern photographers are so glad Photoshop exists!
Now you can sit in the comfort of your own home and edit images to your liking with a few clicks of a button. Even better? If editing is too tedious or just not your strong suit, you can outsource this kind of work to someone else and avoid the process altogether.
At Path, you get 24/7 access to a whole team of professionally trained photo editors who complete every edit by hand—while keeping you on time and under budget.


